Oracle Autonomous Transaction Processing instance provisioning
Oracle Autonomous Transaction Processing delivers a self-driving, self-securing, self-repairing database service that can instantly scale to meet demands of a variety of applications: mission-critical transaction processing, mixed transactions and analytics, IoT, JSON documents, and so on.
When you create an Autonomous Transaction Processing database, you can deploy it to one of two infrastructure platforms:
- Serverless, a simple and elastic deployment choice. Oracle autonomously operates all aspects of the database life cycle from database placement to backup and updates.
- Dedicated, a private cloud in public cloud deployment choice. A completely dedicated compute, storage, network and database service for only a single tenant. Dedicated deployment provides for the highest levels of security isolation and governance. The customer has customizable operational policies to guide Autonomous Operations for workload placement, workload optimization, update scheduling, availability level, over provisioning and peak usage.
Some important link might help you
Create an Oracle Database Cloud Service Instance
Creating an Oracle API Platform Cloud Service (CS) Instance
In this article, we’ll look at how to provision an Autonomous Transaction Processing(ATP) instance
Provision Autonomous Transaction Processing(ATP) instance
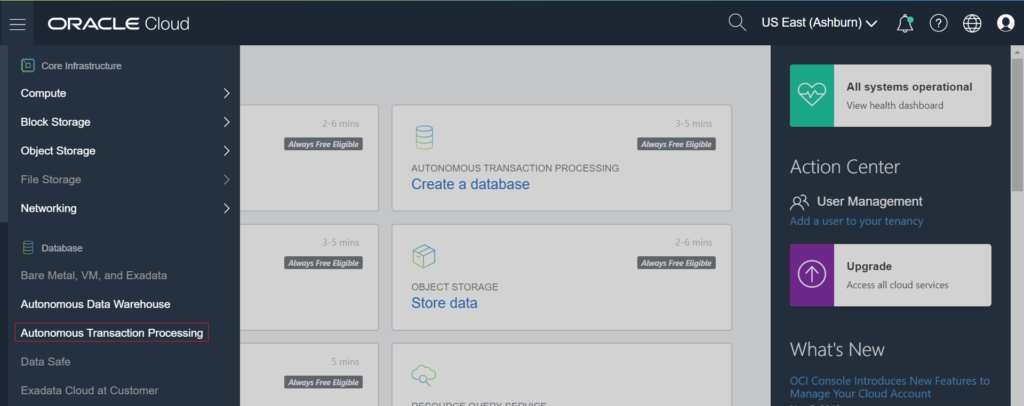
- Login into Oracle Cloud
- Click on the Hamburger menu from left upper side and click on Autonomous Transaction Processing
- Click on Create Autonomous Database button

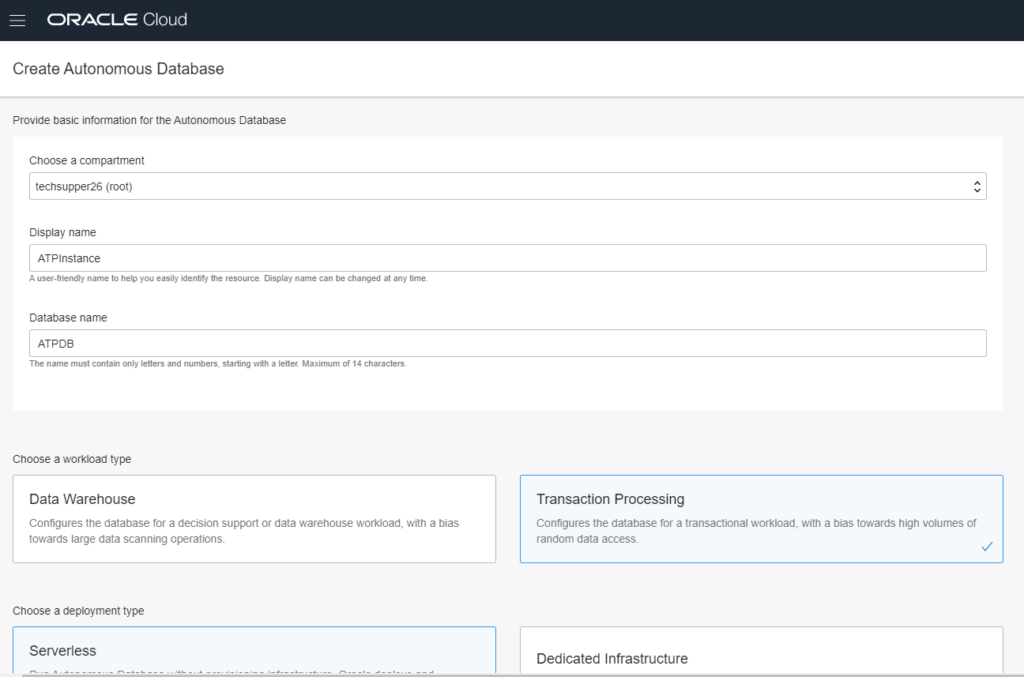
- Enter below details:
- Choose a Compartment: Choose a compartment in which you want to create ATP instance
- Display name: A user-friendly name to help you easily identify the resource. Display name can be changed at any time.
- Database name: Enter DB name of your choice
- Choose a workload type: Select the workload type. Default is Transaction Processing.
- Choose a deployment type: Select the deployment type. Default is Serverless.
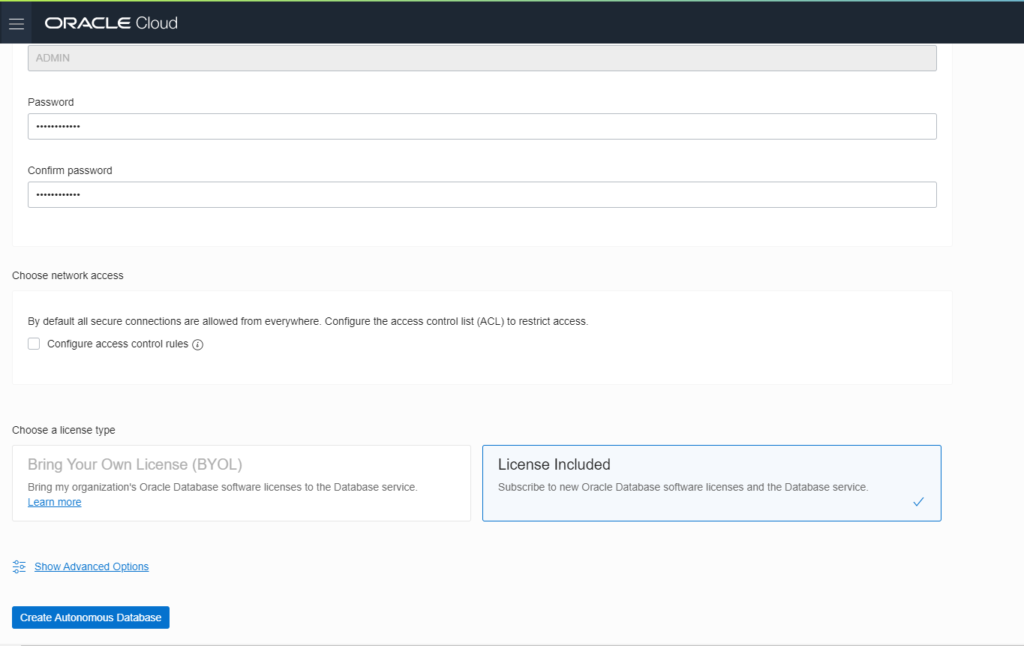
- Username: You can not update it. Default is Admin
- Password: Enter password of your choice, for example Welcome@0987
- Confirm Password: Re-enter the password Welcome@0987
- Choose a licence type: Choose Licence Type. Default is Licence Included
Once entered all above information, click on Create Autonomous Database button
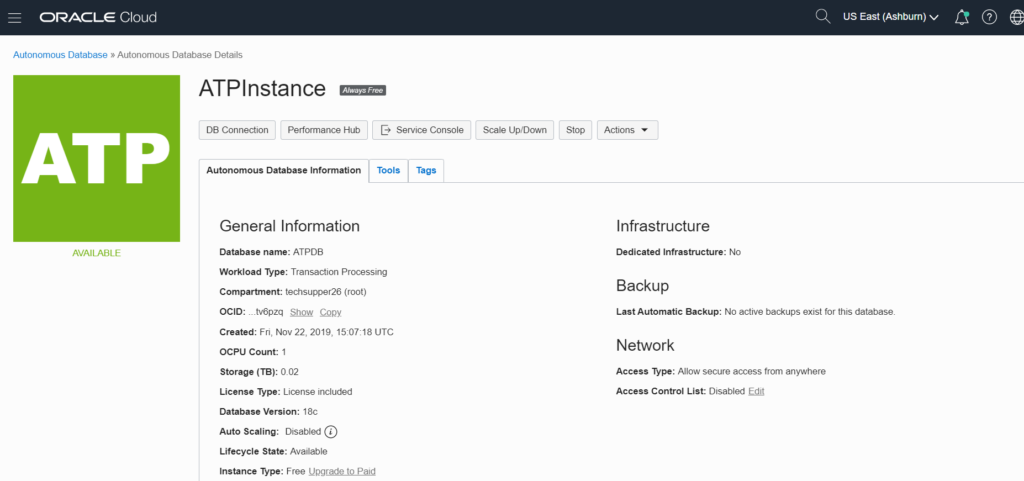
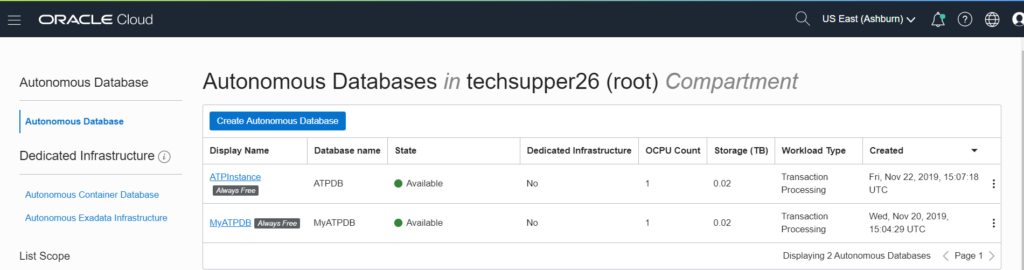
Once instance is provisioned successfully, you can see the same in Available list
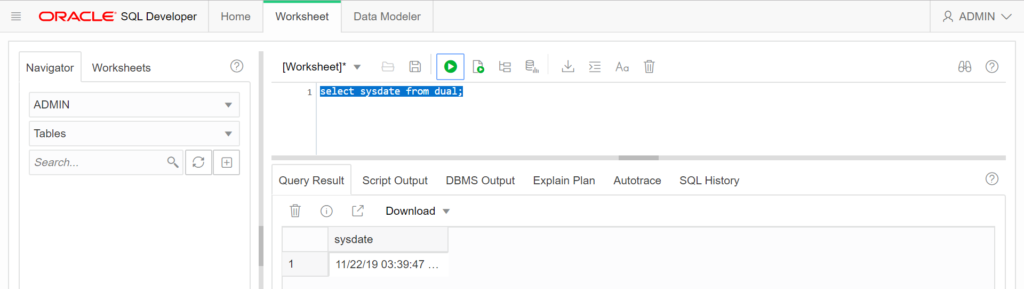
Access SQL Developer Web
- Select the ATP database from the list
- Select the Tools tab and click on the Open SQL Developer Web
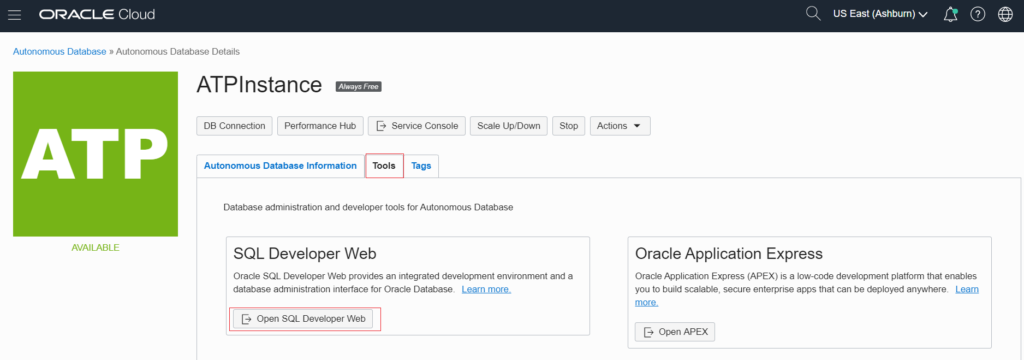
- Once click on Open SQL Developer Web, you will be landed on login page where you need to enter username(Admin) and password( Welcome@0987) which you have given during instance provisioning.
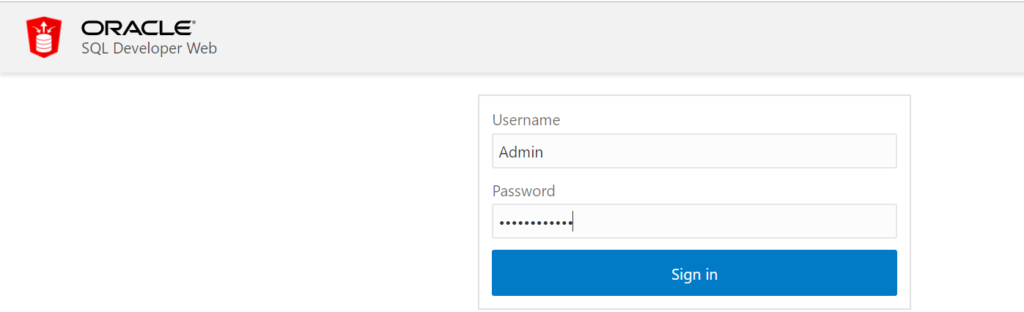
- From the SQL developer you can manage SQL objects(table, view, procedure etc). Like you can create tables,views, users etc..