This blog explain how to configure File adapter in Oracle Service bus and create XML files with very minimal configuration.
We will poll on the database, select the new records and create the XML files.
Let’s follow the below simple steps:
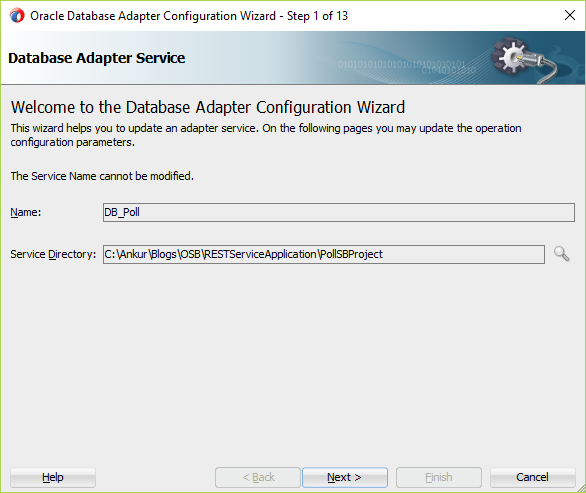
1) Create a Service Bus application with service bus project
2) Open the composite
3) Right click on the left swim lane, Insert Adapters – > Database
4) Select connection and enter JNDI name
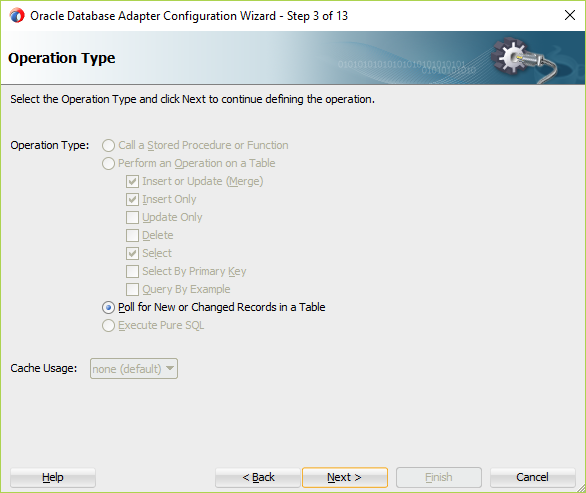
5) Select Poll for New or Changed Records in a Table, click Next
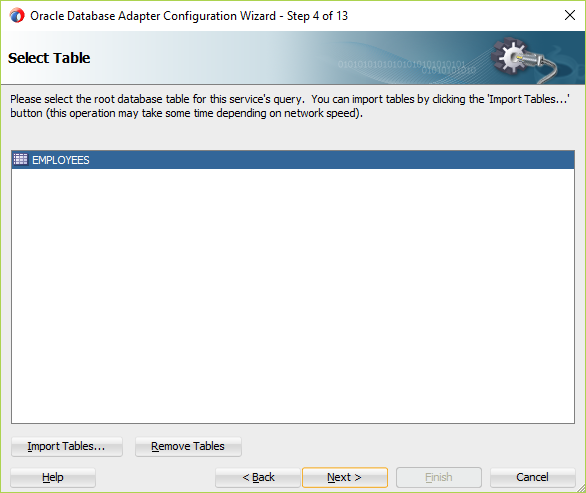
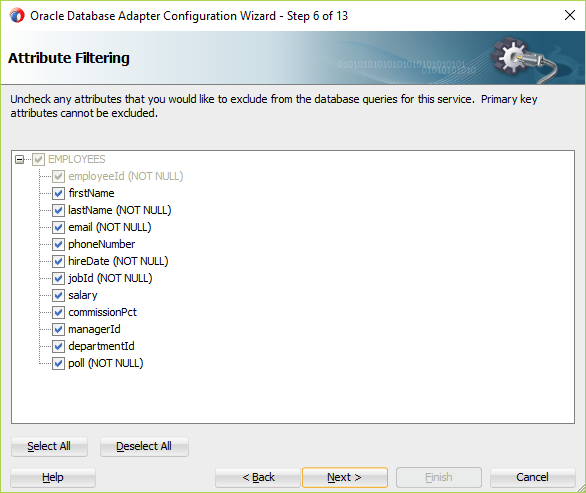
6) Select Employees table, click Next
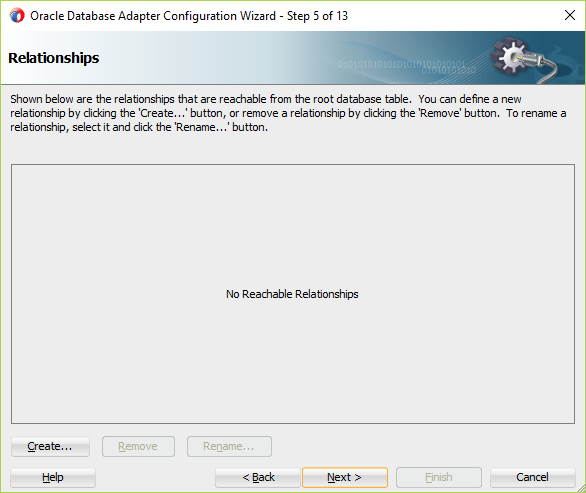
7) Click Next
8) Click Next
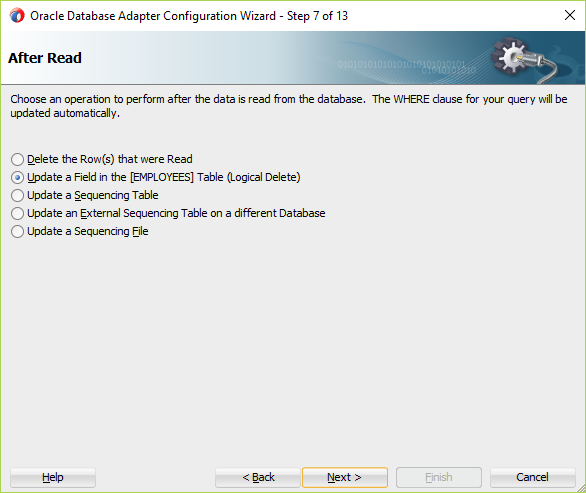
9) Choose Update a Filed in the Table option
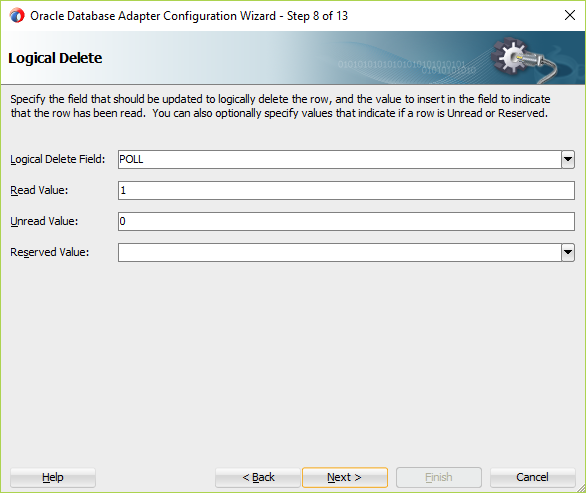
10) Enter the below values:
a) Logical Delete Field: Select Field based on you want to poll. In our case field name is POLL
b) Read Value: Enter the value that you want to update after read the row
c) Unread Value: Enter the value, on which you want to select record
d) Reserved Value: Enter the value that would be updated once the record picked up,let’s say -1
11) Enter Next -> Next-> Next->Finish
Polling adapter has been configured properly.
Let’s move ahead and configure File adapter
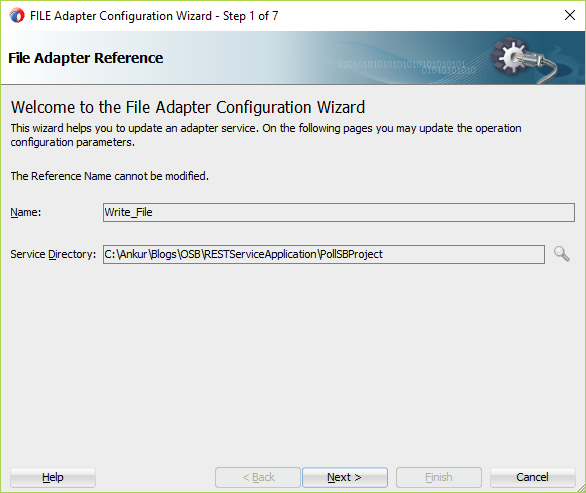
12) Right click on the Right swim lane, Insert Adapters -> File
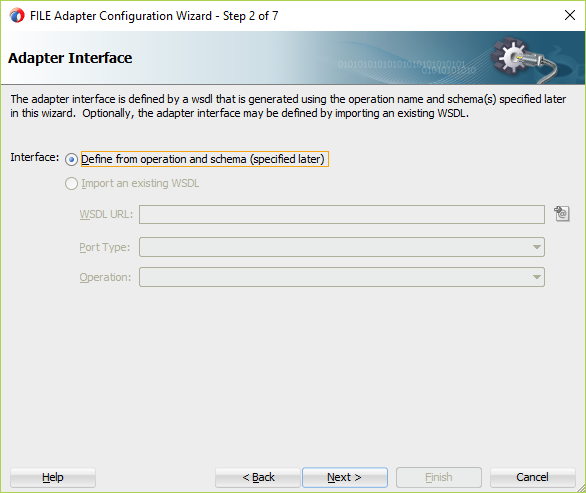
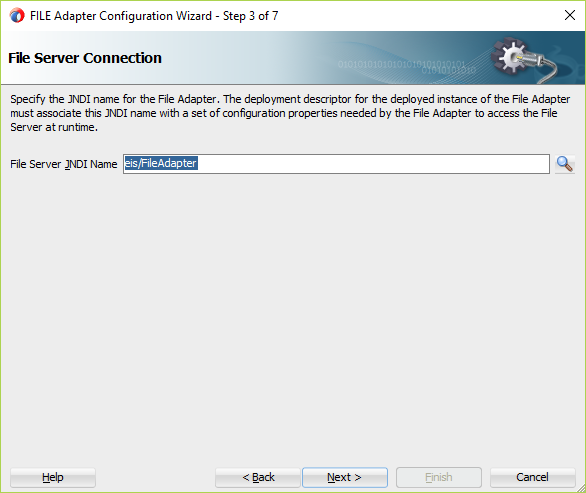
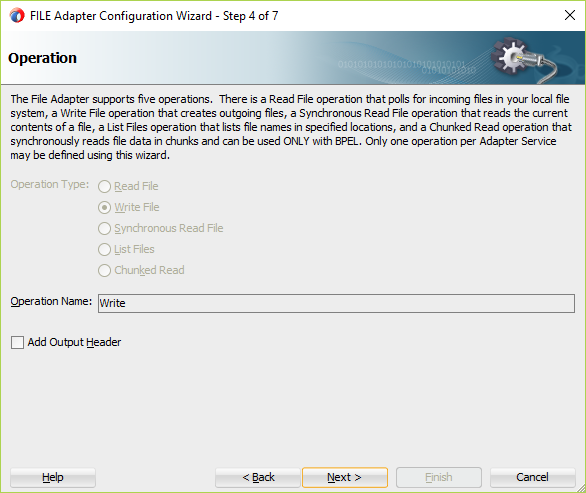
13) Click Next -> Next -> Next
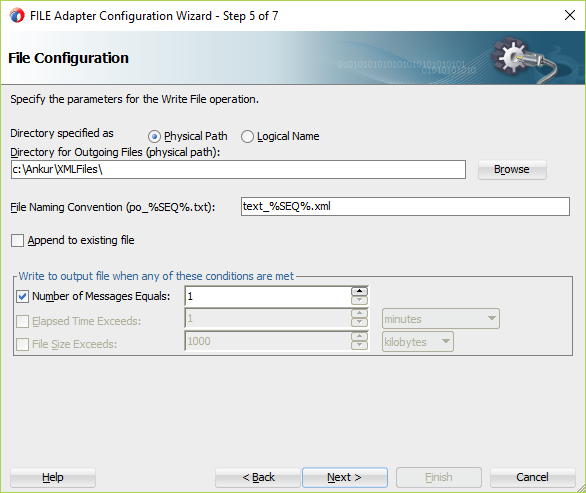
14) Enter the below information
a) Directory for outgoing files: physical path where the files will get stored
b) File Naming convention: Enter the name of file. That can be changed later in pipeline
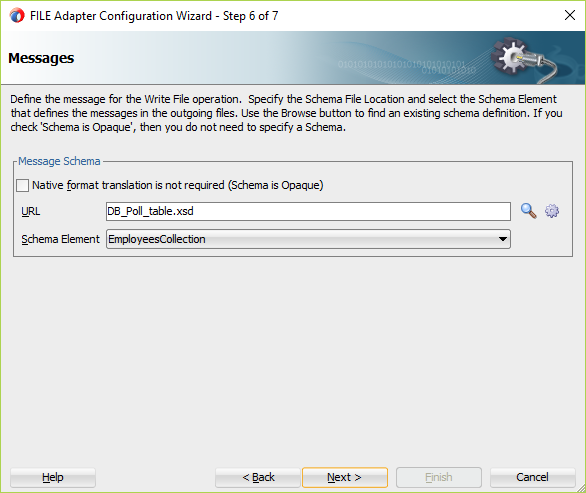
15) Select the DB_Poll.xsd and click Next -> Finish
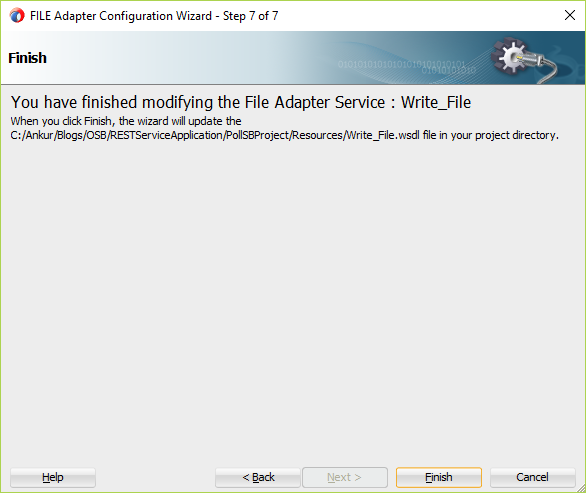
File adapter has been configured successfully.
Let’s proceed further and create pipeline that will call File Adapter configured in very previous steps.
16) Create a XSLT that will transform the DB adapter output for the File Adapter input. During XSLT configuration, select the primary source and target to refer the same XSD(DB_Poll_table.xsd)
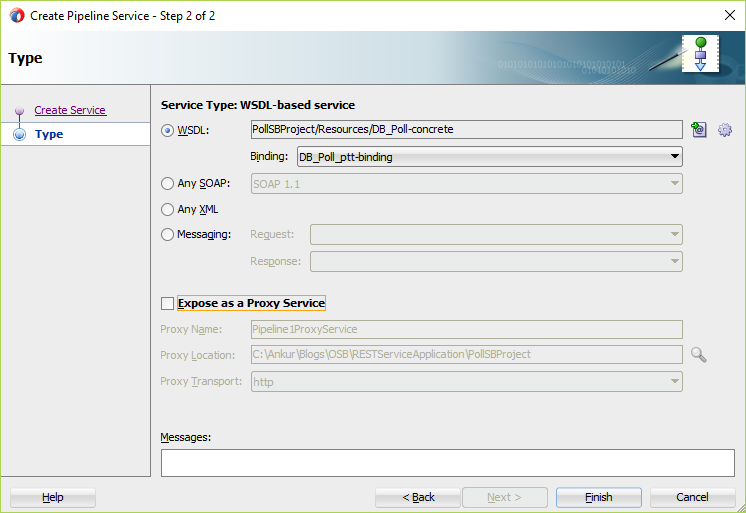
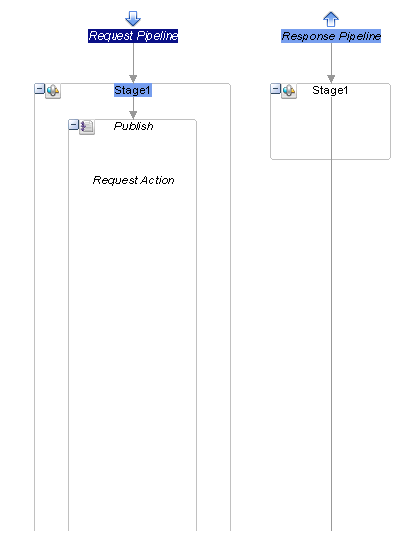
17) Right click on the Middle Swim lane and insert pipeline. Enter pipeline name, click next and select WSDL option. Select DB_Poll-concrete WSDL, un-check the Expose as a Proxy service and Finish
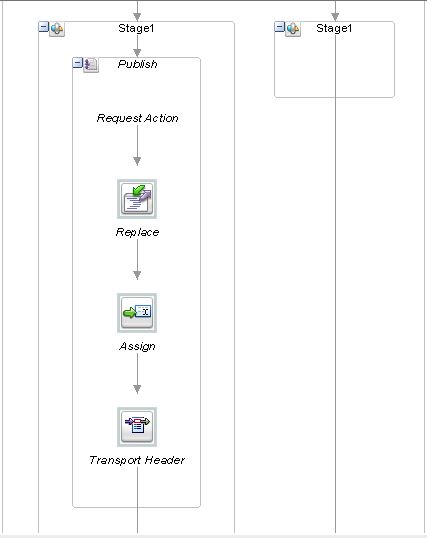
18) Drop the Pipeline pair node. Drop the Publish activity in the request pipeline
19) Select the Write_File.bix service from Publish activity properties
20) Drop the Replace activity in the publish activity and configure the properties:
a) Location: body
b) Expression: .
c) Value: Select the XSLT resource and select xslt that we have created.
d) Replace option: Replace node contents
21) Drop the Assign activity under the publish activity and configure the property. This will be used to set the xml file name dynamically. In this case we will keep the file name like firstName_employeeId
22) Drop the Transport Header activity under the Publish activity and set the value:
Your pipeline will look like:
Now run the DB adapter, and see the file got created or not at the location you configured during file adapter configuration.
Note: You must have Poll field with 0 values in the Employees table.
That’s it!


great!