Complete guide to install Oracle Database
Hardware and Software Requirements
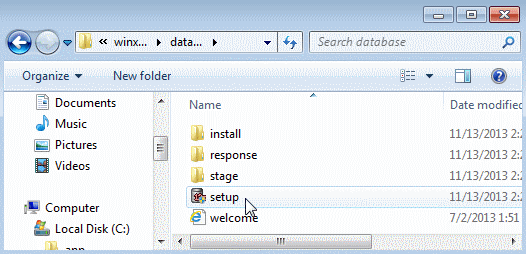
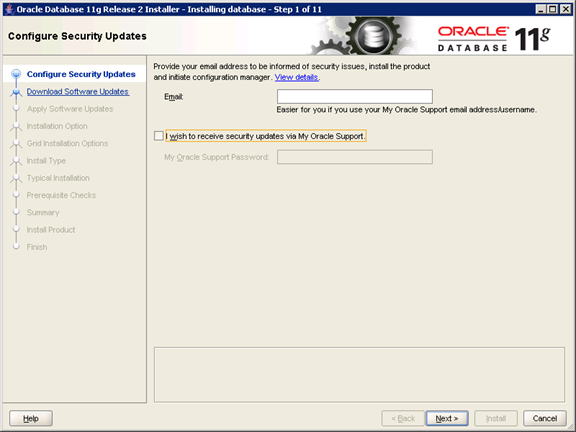
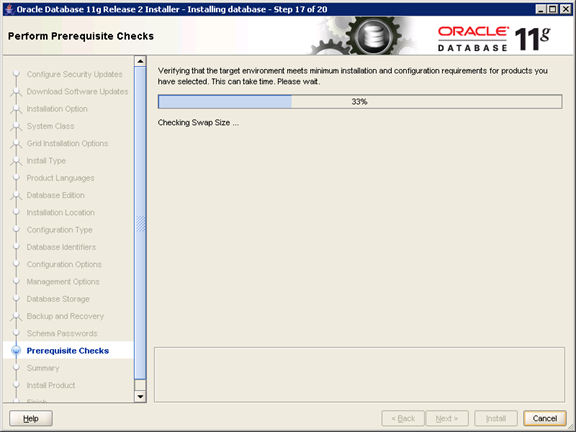
Before installing the software, Oracle Universal Installer (OUI) performs several automated checks to ensure that your computer fulfills the basic hardware and software requirements for an Oracle Database installation. If your computer does not meet the requirements, an error message is displayed. Some of the requirements to install the software are:
- Minimum 2 GB of physical memory
- Sufficient virtual memory (swap)
- At least 10 GB of free disk space
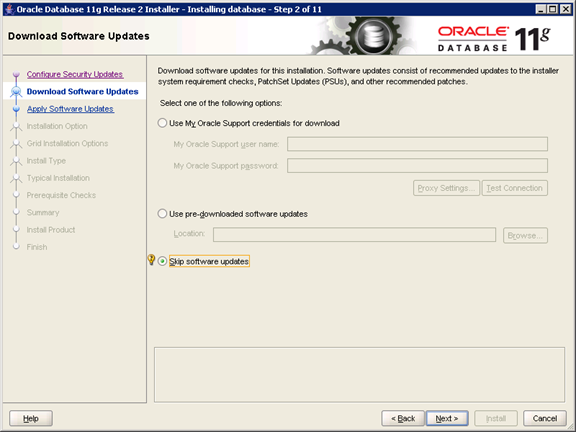
- Select “Use My Oracle Support credentials for download” to download and apply the latest software updates.
- Select “Use pre-downloaded software updates” to apply software updates that you previously downloaded.
- Select “Skip software updates” if do not want to apply any updates.
Accept the default and click Next.
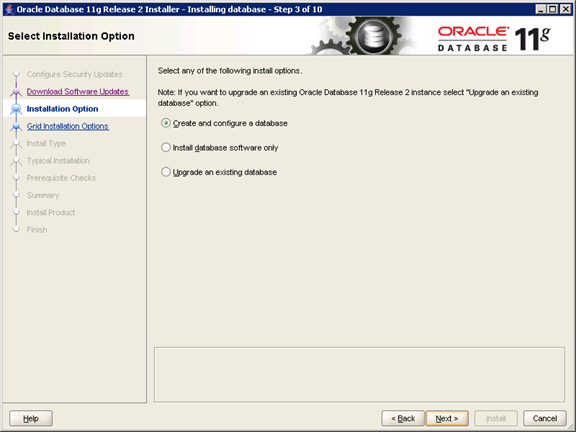
4) The Select Installation Option window appears with the following options:
- Select “Create and configure a database” to install the database, create the database instance and configure the database
- Select “Install database software only” to only install the database software
- Select “Upgrade an existing database” to upgrade the database that is already installed
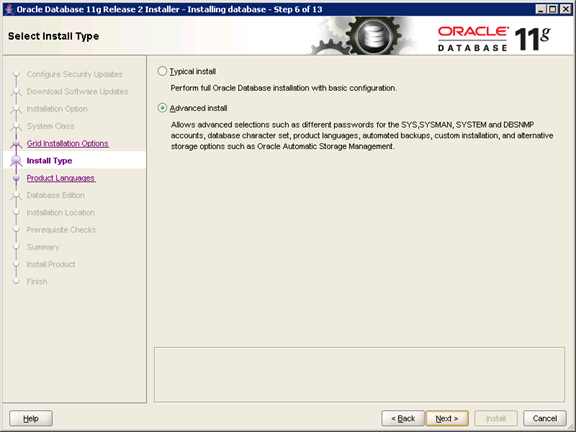
7) Select the ‘Advanced install’ option so the database installation parameters may be changed. Click ‘Next’.
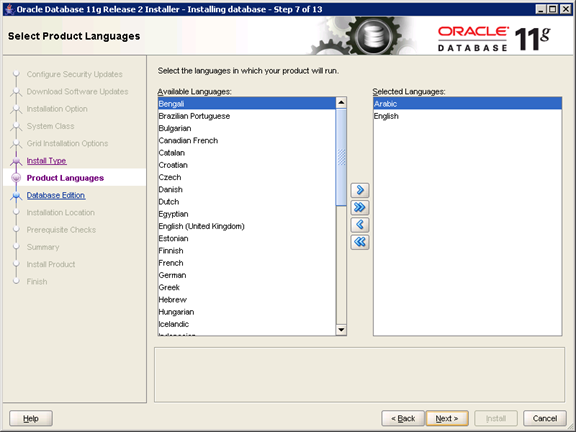
8) Select the languages that you want your database to hold the information in what all languages.
9) Select the ‘Enterprise Edition’ radio button and then click ‘Next’

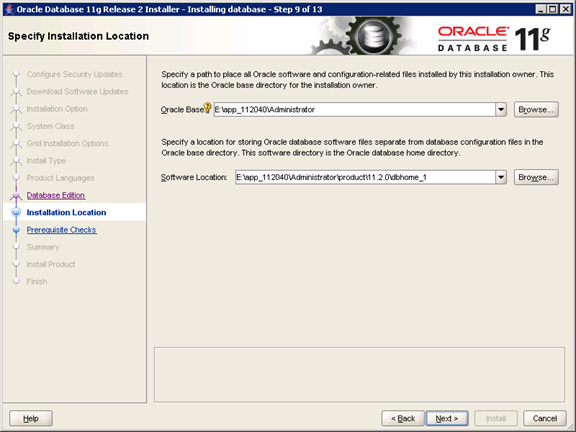
10) Select the install location to be the E:app_112040. Use the rest of the path as the default path. Click ‘Next’.
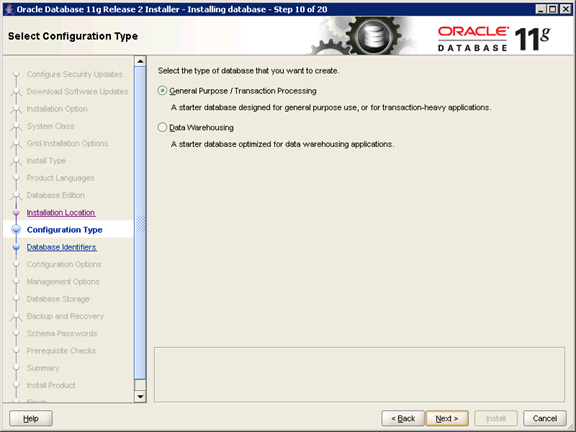
11) Select ‘General purpose/Transaction Processing’ radio button and click ‘Next’
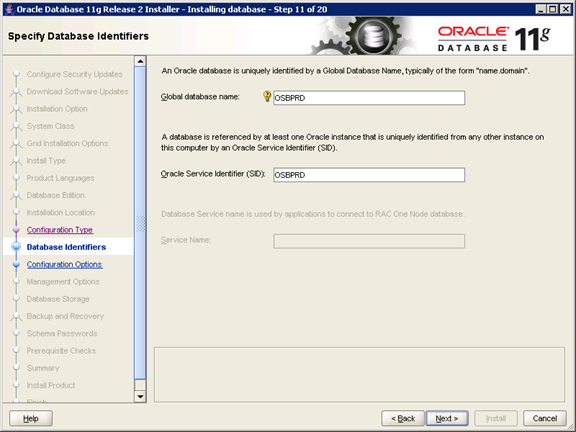
12) Enter the Global database name and the SID, both as OSBPRD. Click ‘Next’
13) This the configuration screens. On the ‘Memory’ tab, let the ‘Enable Automatic Memory Management’ be checked.
By default, the database is set to take 40% of the available physical RAM of the machine, which in this case is approx. 13GB. Make it 8GB
Do not click ‘Next’ yet! Click on the ‘Character sets’ tab next to the ‘Memory’ tab.
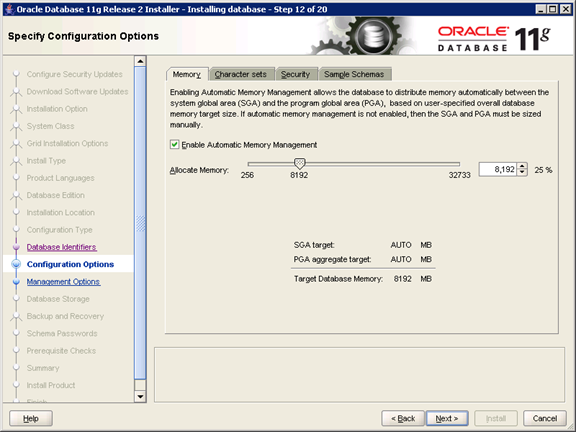
On the ‘Character sets’ tab, select the ‘Use Unicode (AL32UTF8)’ radio button. Click ‘Next’

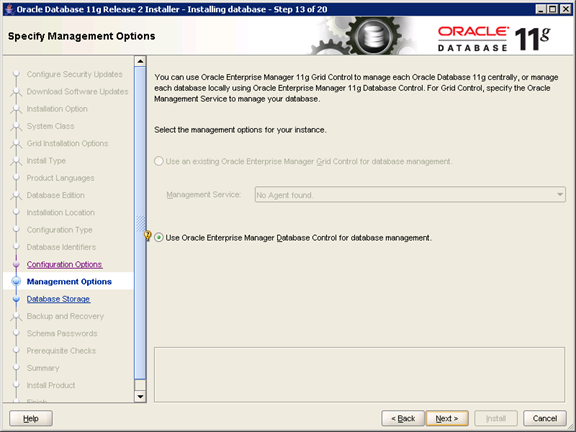
14) Let the default option, ‘Use Oracle Enterprise Manager Database Control for database management’ be selected and click ‘Next’.
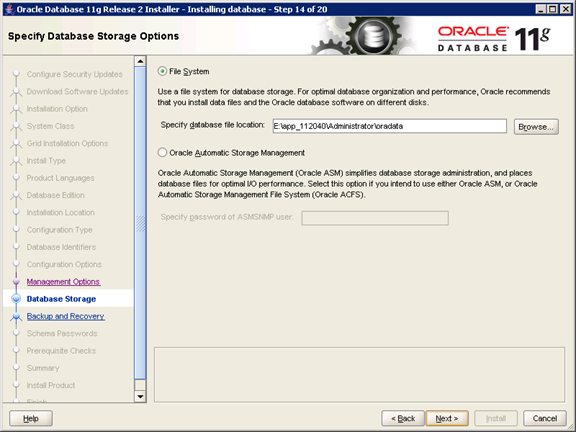
15) Let the default, ‘File System’ radio button be selected and let the path be the default path. Click ‘Next’.
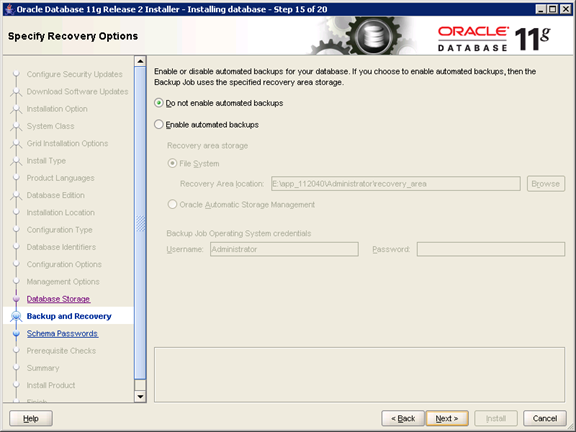
16) Let default ‘Do not enable automatic backup’ be selected. Click ‘Next’.
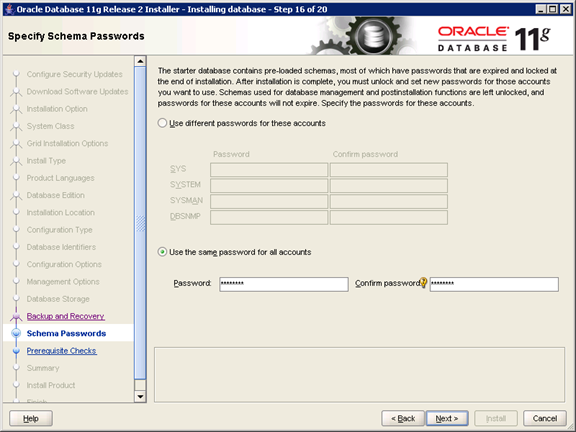
17) Enter the password. This password will be used later to log into administrator accounts such as SYS and SYSTEM. Click Next.
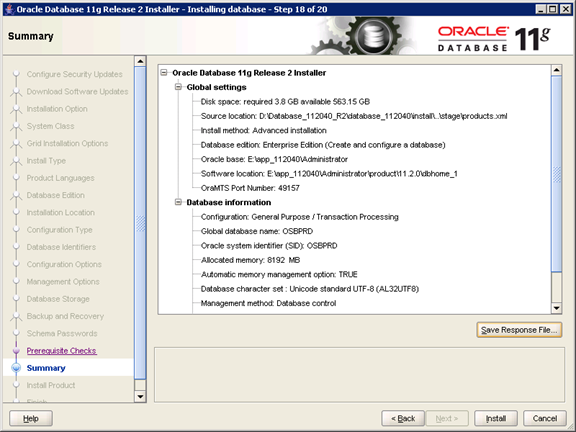
18) Click Next
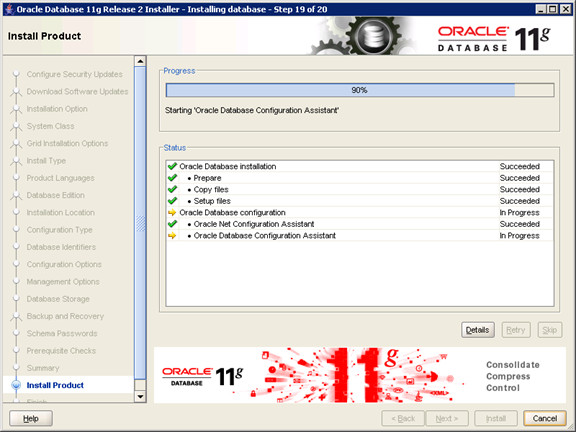
19) Click Install
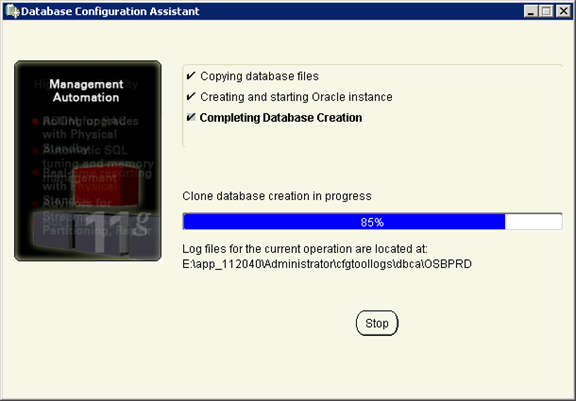
20) Wait through as the installation finishes. Let whatever popup’s open during the process and cancel nothing.
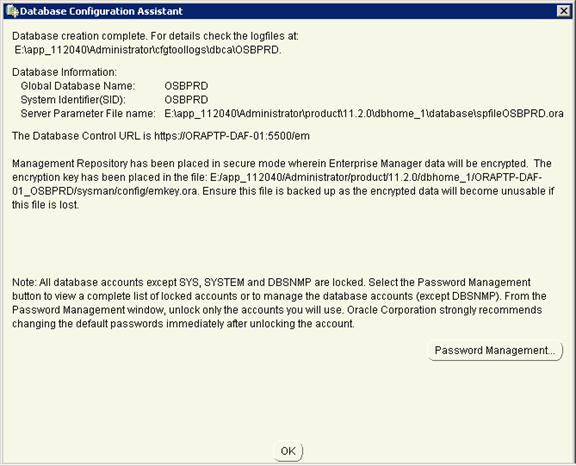
21) On the database configuration window that opens up, click on the ‘Ok’ button.
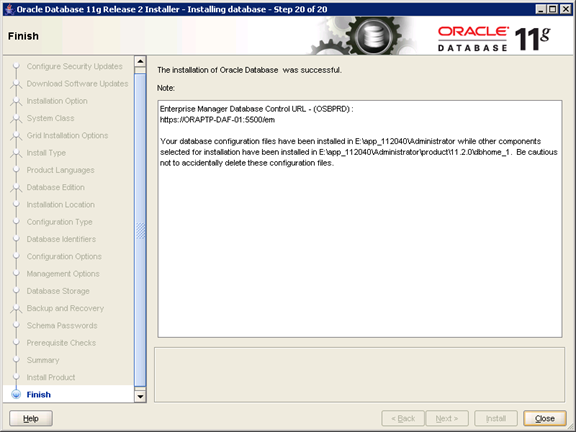
22) The database would have successfully installed. Click ‘Close’.


Discover the Best Support for DB Installation and Configuration with DB Installation Support
Is it accurate to say that you are going up against any sort of establishment or arrangement issue? Or then again looking for best establishment support? On the off chance that yes, at that point let us present one best stage who give world's best help to legitimately deal with your everything arrangement and establishment related issues. Contact to Cognegic System Database Support or DB Configuration Support and rapidly settle your hiccups. We give devoted specialized and client support and in addition reinforcement and reclamation benefit.
For More Info: https://cognegicsystems.com/
Contact Number: 1-800-450-8670
Email Address- info@cognegicsystems.com
Company’s Address- 507 Copper Square Drive Bethel Connecticut (USA) 06801
Explain your Oracle Database Installation Issue in ins_ctx.mk with DB Installation Support
Keep in mind that, in the event that you are getting this above issue when you run the installer of Oracle 11g release2 at that point instantly endeavor to connect with g++ rather than gcc and now installer by and by. Yet, in the event that a similar thing happens again then endeavor to contact with our specialized specialists DB Installation and Configuration Support or DB Configuration Support. They give 24*7 specialized help to those clients who confronting the any sort of issue in regards to establishment and setup.
For More Info: https://cognegicsystems.com/
Contact Number: 1-800-450-8670
Email Address- info@cognegicsystems.com
Company’s Address- 507 Copper Square Drive Bethel Connecticut (USA) 06801
Thanks for the explanation. It’s really helpful. Please keep sharing.
Oracle Course in Delhi
Good contentcustomized erp solutions in india
I just like the helpful information you provide in your articles. I will bookmark your blog and take a look at once more here regularly.
I am somewhat certain I’ll be informed plenty of new stuff right here! Good luck for the following!