Download and Run Connectivity Agent OIC
Connectivity agents are the agents that help you create integrations between on-premises applications and Oracle Integration Cloud (OIC) Service. Connectivity Agents are required for Oracle Integration Cloud to communicate or exchange messages with on-premise applications like Database, E-Business Suite, etc. This article shows how to download and run connectivity agent.
Some useful links:
If you are planning to install connectivity agent, below are some pre-requisites you should meet before hand
Pre-requisites
|
Product
|
Version / Size
|
|
JDK
|
JDK Version 8 and 9
|
|
OS
|
* Oracle Enterprise Linux 6.x
* Oracle Enterprise Linux 7.2 * RedHat Enterprise Linux 6.6 * RedHat Enterprise Linux 7.2 * Suse Linux Enterprise Edition 12 SP2 * Windows Standard Edition 2016 |
|
RAM
|
Minimum 4GB
|
|
Space
|
8 GB
|
Above system requirement as per the Oracle Documentation. I myself tried to install the connectivity agent on Windows 10 64 bit and it’s running perfectly.
Below are high-level steps to download and run connectivity agent:
- Create Agent Group in Oracle Integration Cloud
- Download Connectivity Agent
- Install Connectivity Agent
- Verify Connectivity Agent
Create Agent Group in Oracle Integration Cloud
- Login into Oracle Integration Cloud instance
- Click on Integrations tab

- Navigate to Designer -> Agents
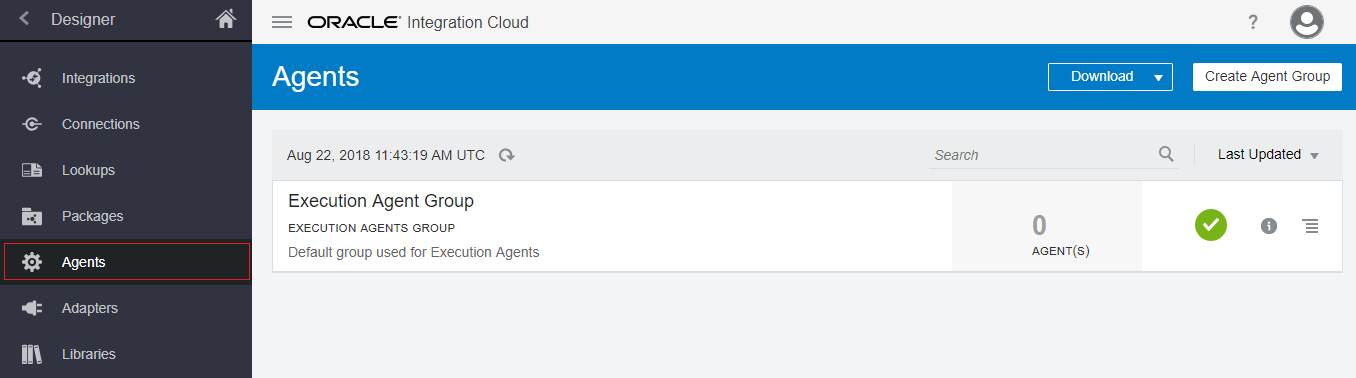
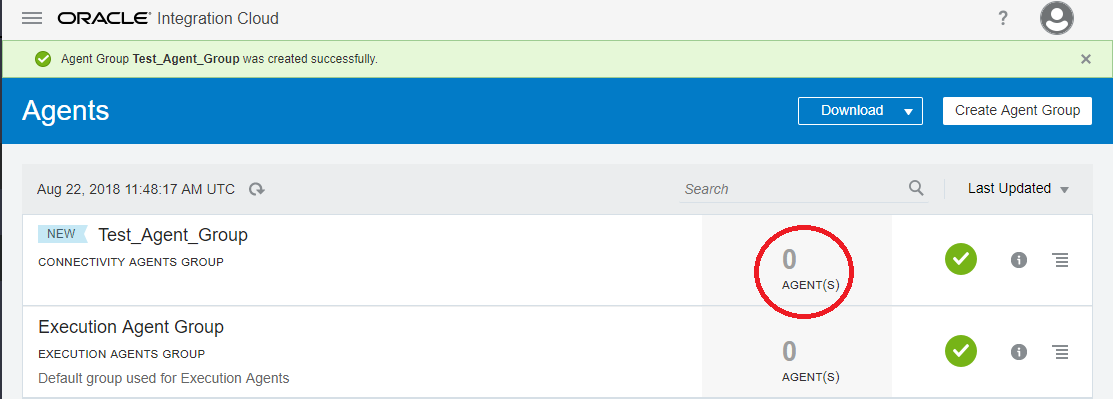
- Click on Create Agent Group and enter the Agent Group Name on the opened popup. Click on Create button
Note the Identifier is required during connectivity agent installation

- Once created, it will show up on the Agents page and will show the AGENT(s) count 0. The count will increase once the connectivity agent installation is completed
Download and run Connectivity Agent
Connectivity Agent will be downloaded from the Agents page. Click on the Download -> Connectivity Agent button from the upper left corner

The file with name oic_connectivity_agent.zip will be downloaded.
During installation, we’ll associate the connectivity agent with the agent group identifier we generated when creating an agent group in Oracle Integration Cloud
- Unzip the oic_connectivity_agent.zip
- Open the extracted file and notice InstallerProfile.cfg inside. Modify the file to include the following information
# Required Parameters
# oic_URL format should be https://hostname:sslPort
oic_URL=
agent_GROUP_IDENTIFIER=
# Proxy Parameters
proxy_HOST=
proxy_PORT=
proxy_USER=
proxy_PASSWORD=
proxy_NON_PROXY_HOSTS=
|
Parameter
|
Description
|
|
oic_URL
|
This parameter is required. This is the HTTPS URL for the Oracle Integration Cloud host. The port is 443.
For example:
https://oic-abc.uscom-central-1.oraclecloud.com:443
|
|
agent_GROUP_IDENTIFIER
|
This parameter is required. This is the identifier for the connectivity agent group created in Oracle Integration Cloud
For example: TEST_AGENT_GROUP
|
|
Proxy Parameters
|
These all required only if the agent is used with proxy
|
Once entered, save the file and close
- Set the JAVA_HOME property to the location of the JDK installation and PATH property
- Open the command prompt and hit the java -version command to make sure Sun JDK 1.8+ is installed
- Run the Connectivity agent installer using below command
If JDK 8
java -jar connectivityagent.jar
If JDK 9
java –add-modules java.xml.ws,java.xml.bind -jar connectivityagent.jar
- Enter the Oracle Integration Cloud credentials when prompted
Proceeding to install a new agent …
Enter your OIC username :
Enter password for username :
- Once installed, below successful message will appear on the screen
Done with Agent installation & configuration… Starting Agent for message processing.
Agent started successfully…Now available for new messages…

When we run the connectivity agent installer (using java -jar connectivityagent.jar), the process is tied to the terminal window in which we are working and ends when the window is closed. Update the following two properties in InstallerProfile.cfg file if you want to run the process in the background
- oic_USER
- oic_PASSWORD
And use nohup command if the connectivity agent installation in installed on Linux / Unix box
Verify Connectivity Agent
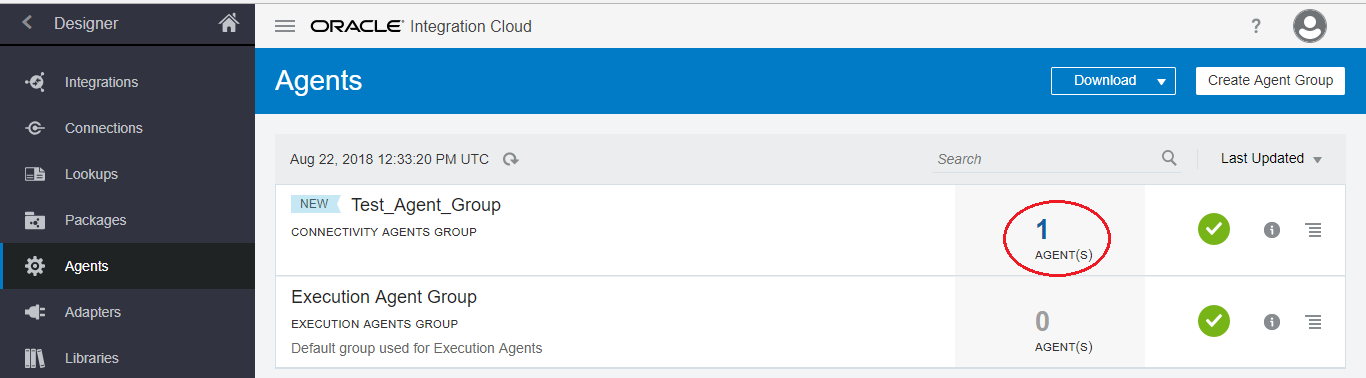
Verify the connectivity agent by opening the Integration Cloud Agents page and see the count should increase from 0 to 1
To verify the connectivity is up and running, go to the Monitoring -> Agents page and see the GREEN icon in front of the Agent. If this is green which means the agent is up and running, if RED this means, the agent is down

Now, we can create the integrations to connect on-premise application using connectivity agent.
Thanks. Good one
when i did the above step ,i got am error as error encountered and shutdown.
Hi Manish,
What is error you are getting ?
Regards,
Ankur
Hi Ankur,
Can I create more than one agent in Agent group ?
No you can not.
Regards,
Ankur
Hi Ankur,
How can I use this agent in cofiguring ftp adapter. Thanks 🙂