Provisioning the Oracle Integration Cloud (OIC) Instance
Pre-requisite to Create an OIC instance
The pre-requisite to create an OIC instance is just to Oracle database (DBaaS) instance up and running. If you don’t have already a DBaaS instance, kindly go through the article and setup the DBaaS instance
Once we have setup the cloud DBaaS instance, we can move forward and create the OIC instance.
Provision an OIC instance
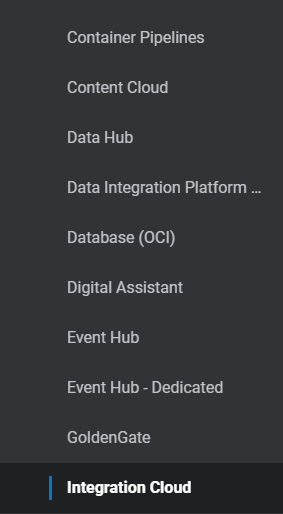
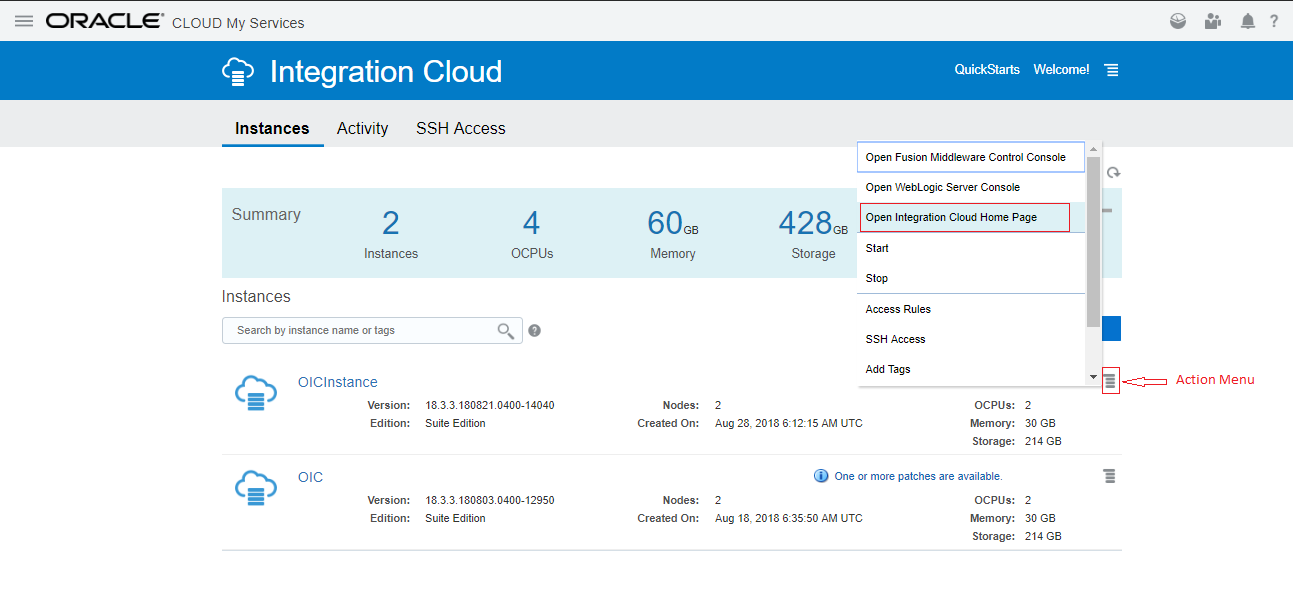
- Login into my dashboard page and navigate to the Service -> Integration Cloud page
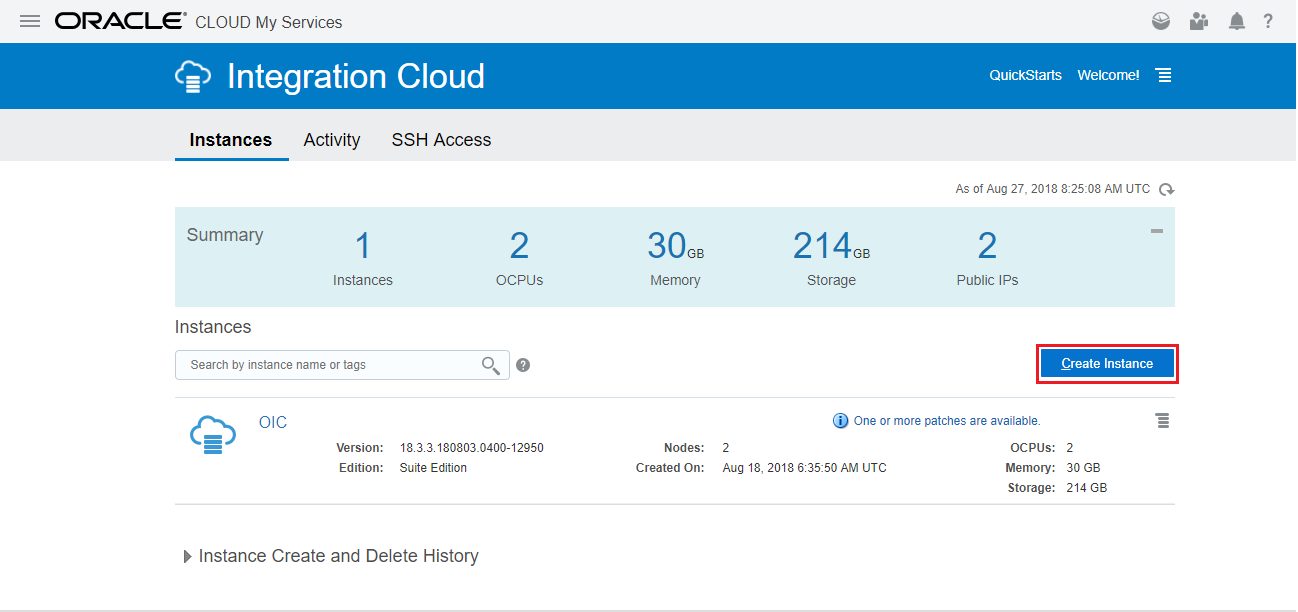
- Click on Create Instance button
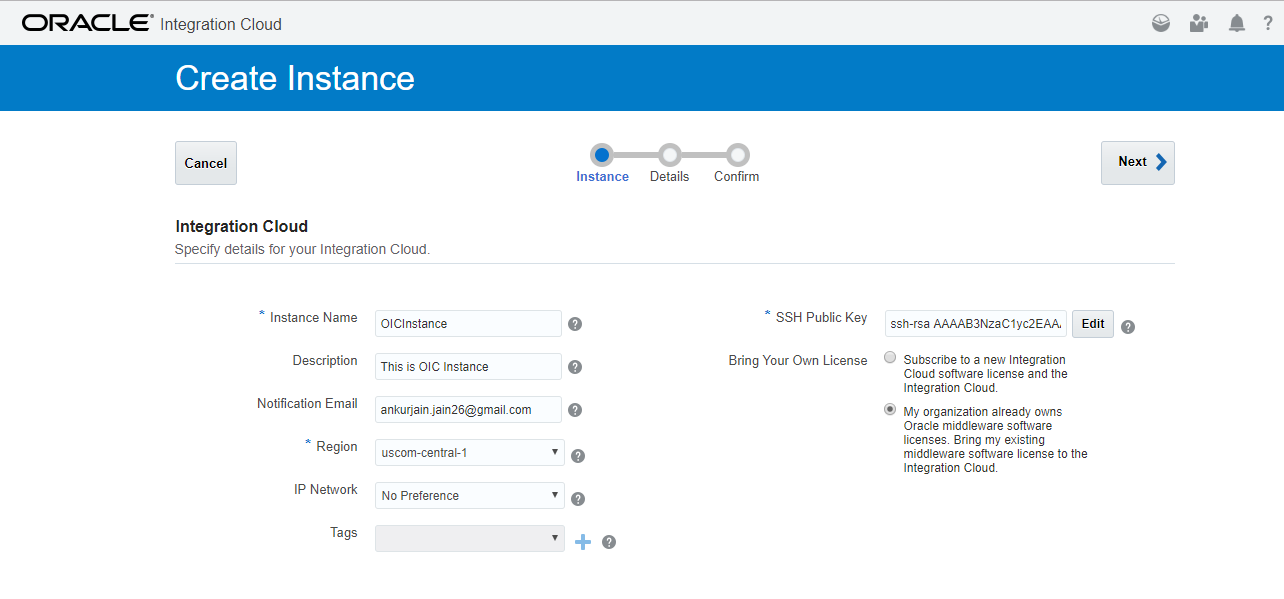
- Enter below information and click Next button
|
Fields
|
Description
|
|
*Instance Name
|
Name of the unique instance name of Integration Cloud
|
|
Description
|
Optionally add a description to help identify the purpose of this new instance
|
|
Notification Email
|
Enter an email address at which to be notified of instance provisioning progress
|
|
*Region
|
Region in which the instance will be provisioned
|
|
Tags
|
Define tags to mark the instance (DEV, TEST, PROD etc..)
|
|
*SSH Public Key
|
Select an option for accessing service host access. This key is used for authentication when connecting to the instance using a secure shell (SSH) client.
|

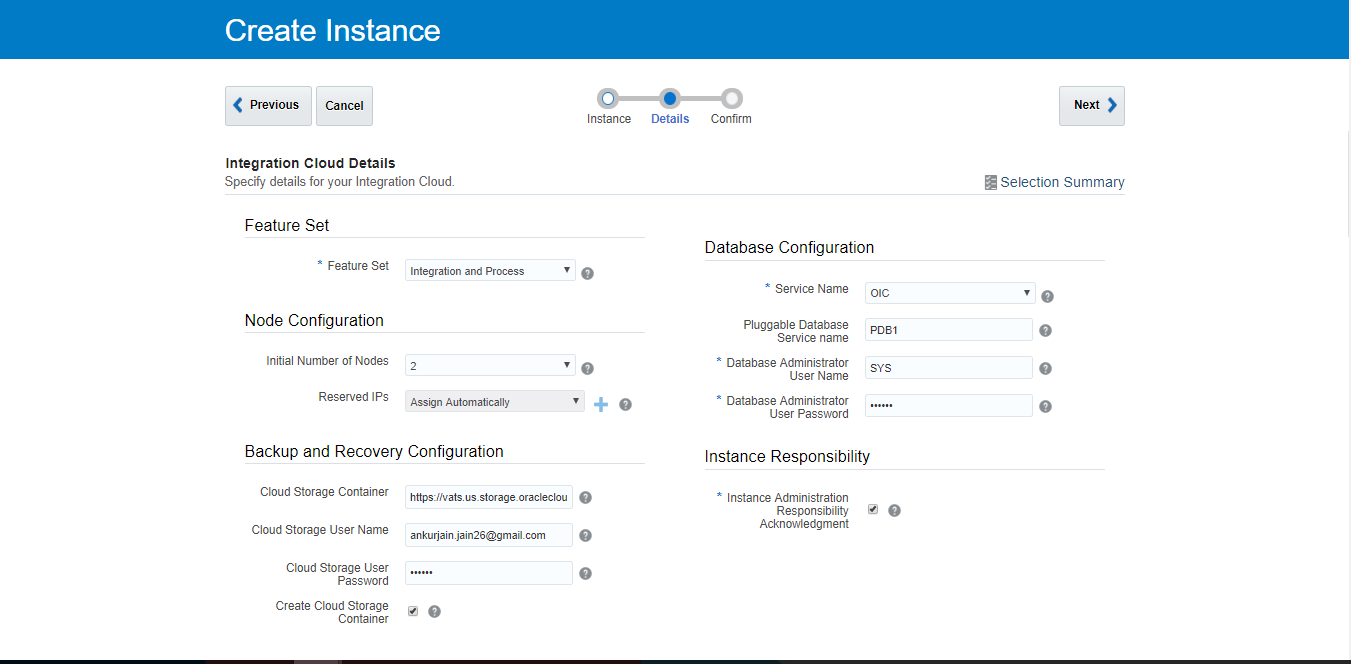
- Specify details as below
|
Section
|
Fields
|
Description
|
Selection for this Instance
|
|
Feature Set
|
* Feature Set
|
Select the one of the following:
Integration: Installs the Standard Edition of Oracle Integration Cloud. This feature set includes Integrations and Visual Builder Integration Analytics: Installs Integration Analytics, which includes Stream Analytics and Integration Insight. Integration and Process: Installs the Enterprise Edition of Oracle Integration Cloud. This feature set includes Integrations, Processes, and Visual Builder |
Integration
|
|
Node Configuration
|
Initial Number of Nodes
|
Enter the number of node which you want configure as part of instance. Default is 2
|
2
|
|
Reserved Ips
|
Assigned Automatically
|
||
|
Backup and Recovery Configuration
|
Cloud Storage Container
|
Oracle Storage Cloud Service container in which to store backups
|
|
|
Cloud Storage User Name
|
Specify the username
|
||
|
Cloud Storage User Password
|
Specify the password
|
||
|
Create Cloud Storage Container
|
Select this check box to automatically create a storage container during Oracle Integration Cloud provisioning.
Select this checkbox if you wanted to create new storage container
|
Select checkbox
|
|
|
Database Configuration
|
*Service Name
|
Select Database service name which we wanted to use
This drop down will show all the DBaaS instance which are there in the services.
|
OIC
|
|
Pluggable Database Service name
|
Specify the service name of the pluggable database (PDB).
This field is only for version 12c databases
|
PDB1
|
|
|
*Database Administrator User Name
|
Specify the user name. This value must be set to a database user with SYSDBA system privileges
|
sys
|
|
|
*Database Administrator User Password
|
Specify the password for the administration user
|
||
|
Instance Responsibility
|
*Instance Administration Responsibility Acknowledgment
|
Click to acknowledge that you are responsible for provisioning and administering your own instance, including:
* Patching * Starting stopping instances and individual VMs * Starting/stopping Oracle WebLogic Server * Scaling in/scaling out * Backups * Database management * Operating system management, including ensuring that you have enough swap space |
Select checkbox
|
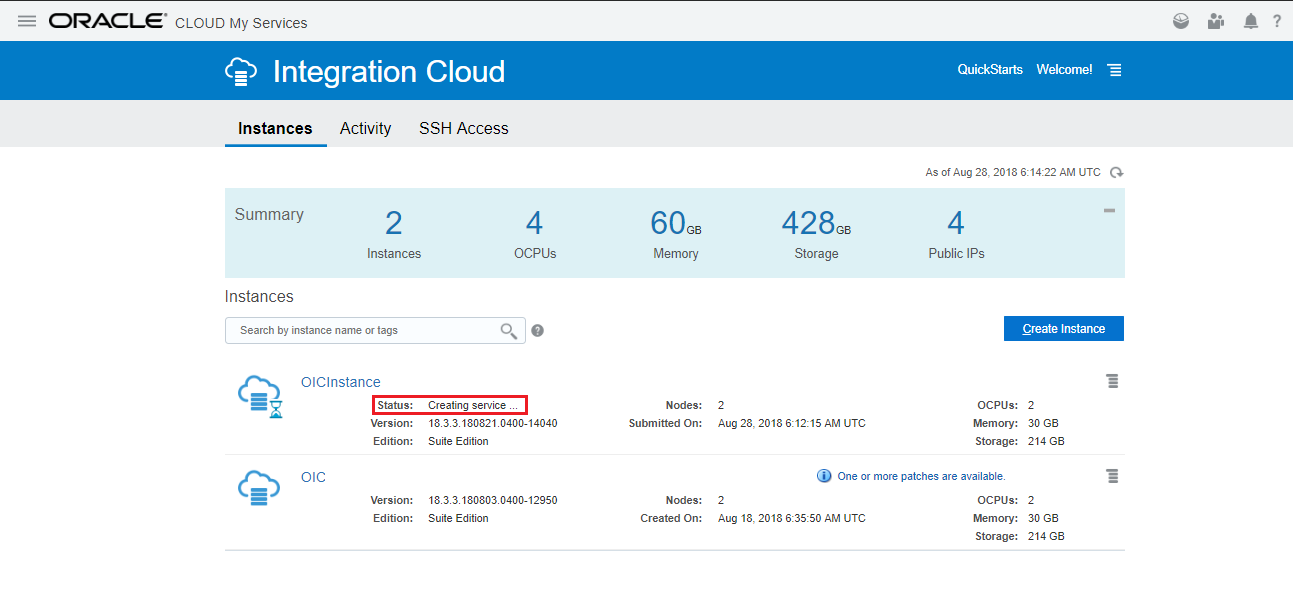
- On Integration Cloud Details Confirmation, click on Create button

I thought this blog admin is having well experienced because these posts are very creativity and very depth explanation. Thanks for sharing the unique details about this topic.
Linux Training in Chennai
Linux Course in Chennai
Best Linux Training Institute in Chennai
Excel Training in Chennai
Oracle Training in Chennai
Unix Training in Chennai
Corporate Training in Chennai
Embedded System Course Chennai
Oracle DBA Training in Chennai
Primavera Training in Chennai
I feel satisfied to read your blog, you have been delivering a useful & unique information to our vision.keep blogging.
Regards,
ccna Training in Chennai
ccna course in Chennai
PHP Training in Chennai
ReactJS Training in Chennai
ccna course in chennai
ccna training in chennai
Excellent post! keep sharing such a post
Guest posting sites
Technology
The blog exposes lots of things to learn about this topic. Very useful things given by the author.
Java Training in Bangalore
Java Course in Bangalore
Java Training in Madurai
Java Course in Madurai
Java Training in Coimbatore
Java Classes in Coimbatore