JMS queue in weblogic server 12c
Let’s have a look on the JMS resources with definition:
JMS Server
A JMS server acts as a management container for resources within JMS modules. Some of its responsibilities include the maintenance of persistence and state of messages and subscribers. A JMS server is required in order to create a JMS module.
JMS Module
A JMS module is a definition which contains JMS resources such as queues, topics, connection factory etc. A JMS module is required in order to create a JMS queue.
Subdeployment
JMS modules are targeted to one or more weblogic instances or a cluster. Resources within a JMS module, such as queues and topics are also targeted to a JMS server or weblogic server instances. A subdeployment is a grouping of targets. It is also known as advanced targeting.
Connection Factory
A connection factory is a resource that enables JMS clients to create connections to JMS destinations.
JMS Queue
A JMS queue is a point-to-point destination type. A message is written to a specific queue or received from a specific queue.
In this example, we will create the following resources:
JMS Server with name TestJMSServer
JMS Module with name TestModule
Subdeployment with name TestSubDeployment
Connection Factory with name TestConnectionFactory
JMS Queue with name TestQueue
Configuration steps:
Create JMS Server
1) Login into the weblogic server(localhost:7101/console)
2) Navigate to Services -> Messaging -> JMS Servers from left navigation
3) Take Lock using Lock & Edit button
4) Click New

5) Enter name and select FileStore from the Persistent Store drop down and click Next
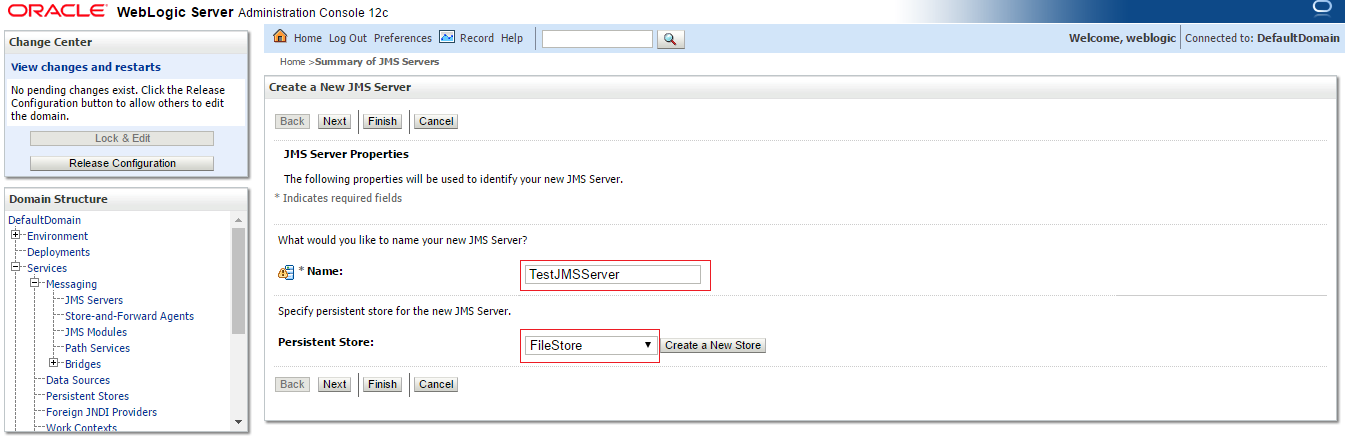
6) Select Target as DefaultServer and click Finish
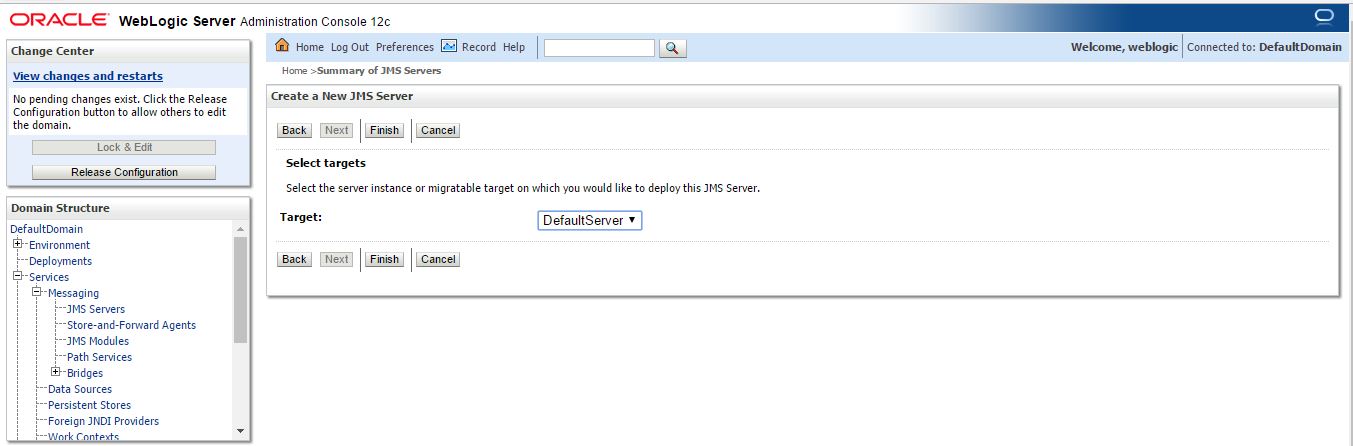
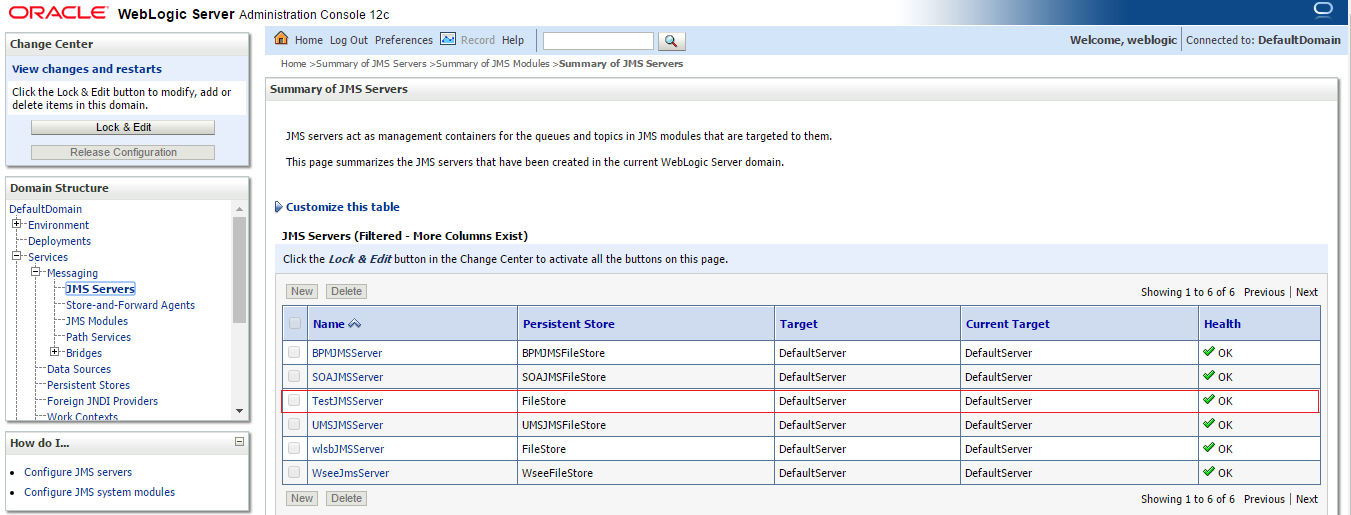
7) Click on Activate Changes button. JMS server has been created successfully:
Create JMS Module
1) Login into the weblogic server(localhost:7101/console)
2) Navigate to Services -> Messaging -> JMS Modules from left navigation
3) Take Lock using Lock & Edit button
4) Click New
5) Enter Name
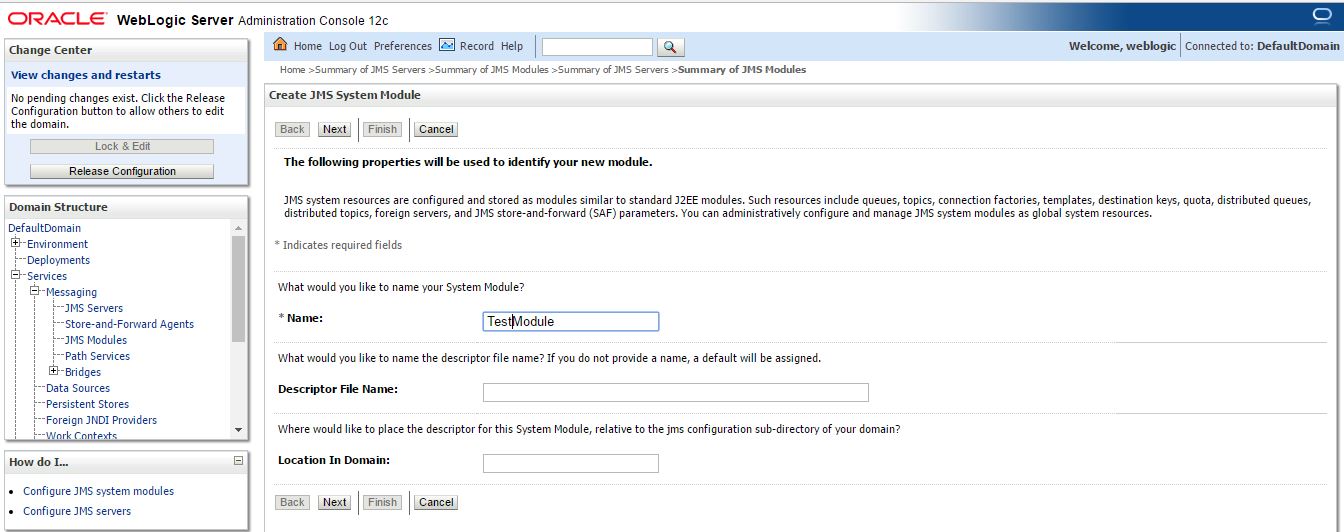
6) Select DefaultServer, click Next and click Finish
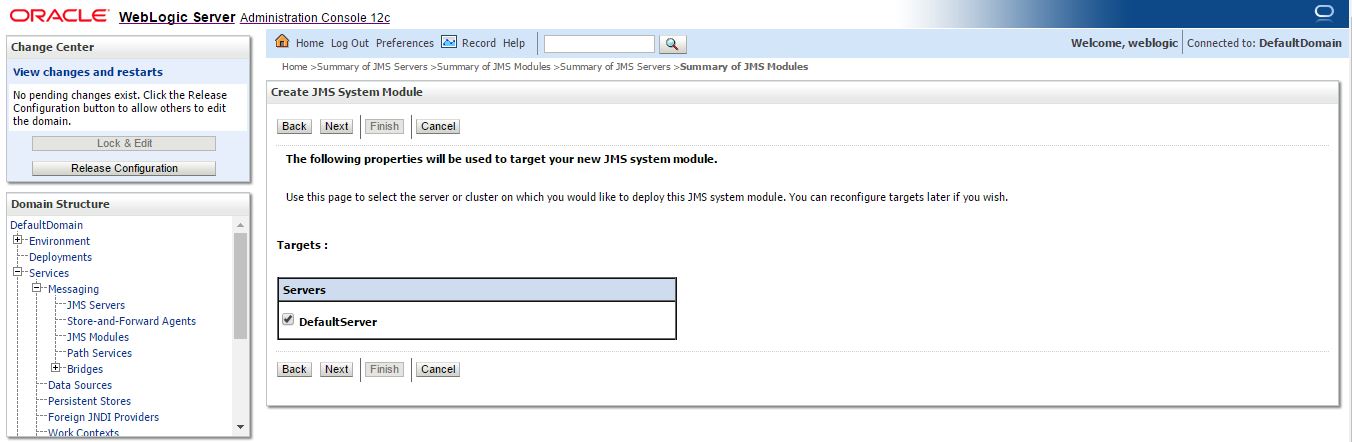
7) Click on Activate Changes button. JMS Module has been created successfully:

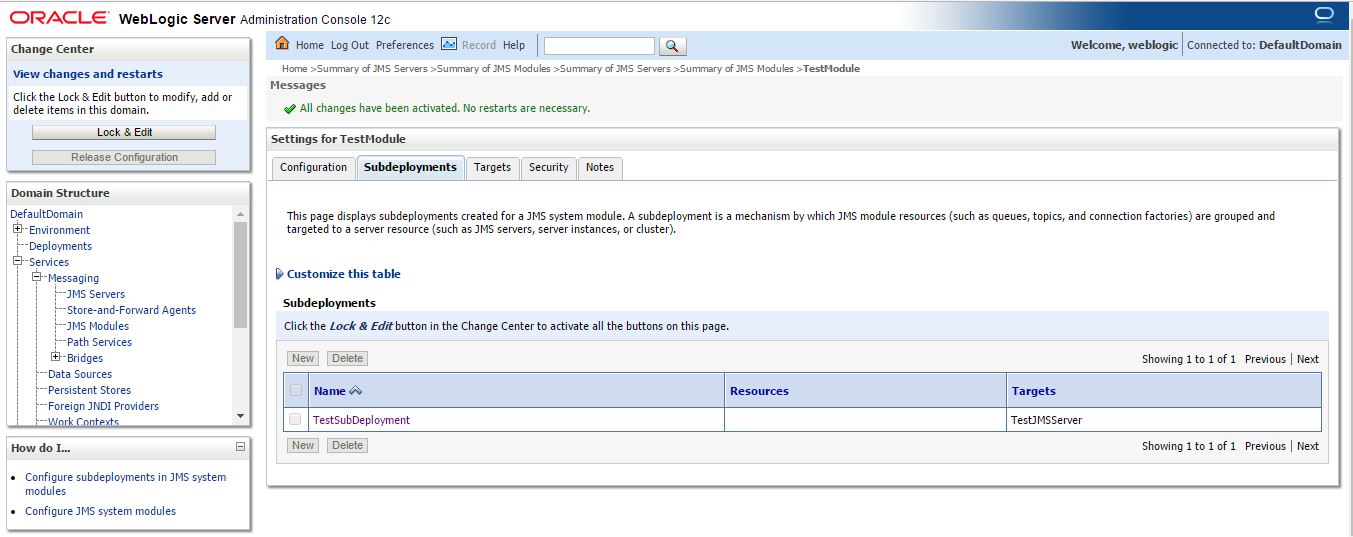
Create Subdeployment
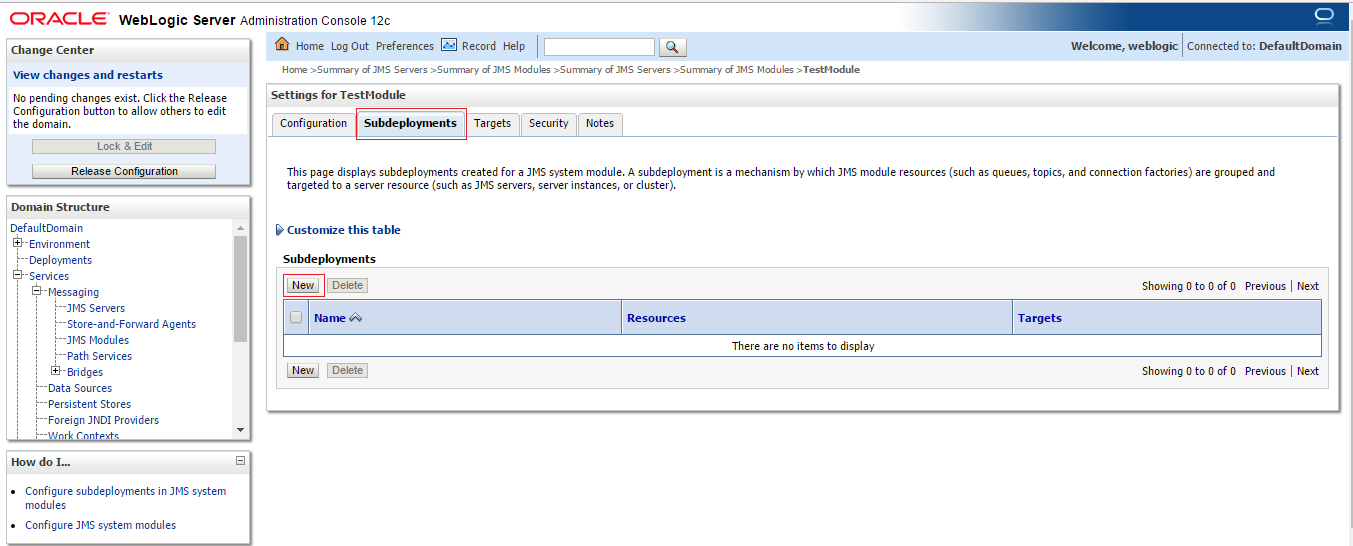
1) Click on the the TestModule created in above step
2) Click on Subdeployments tab and click on New button
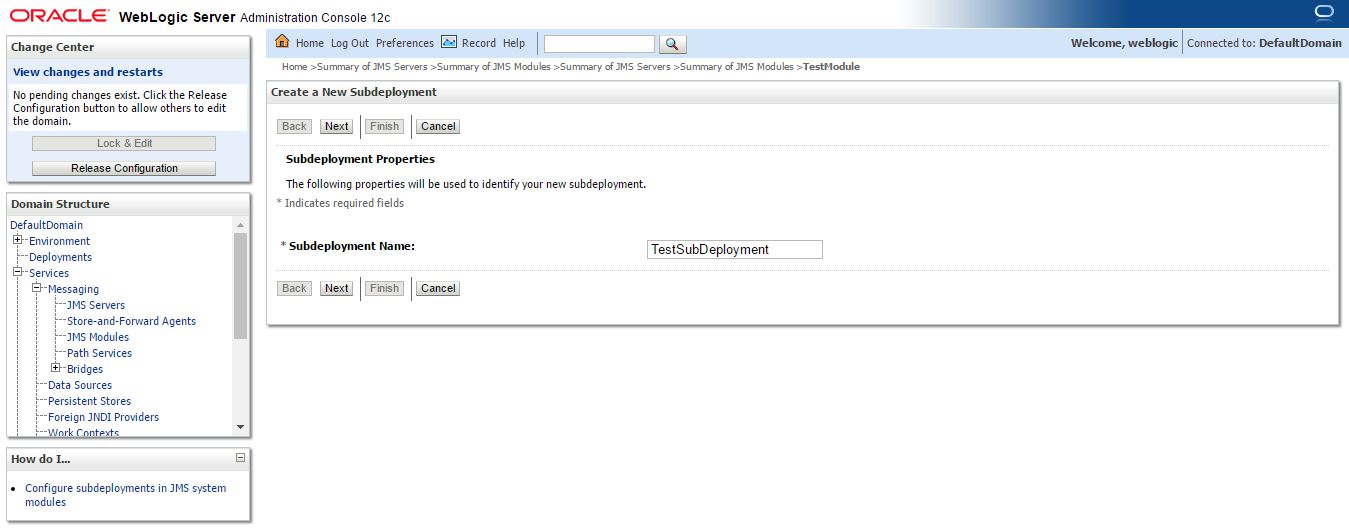
3) Enter Name and click Next
4) Select TestJMSServer and Finish
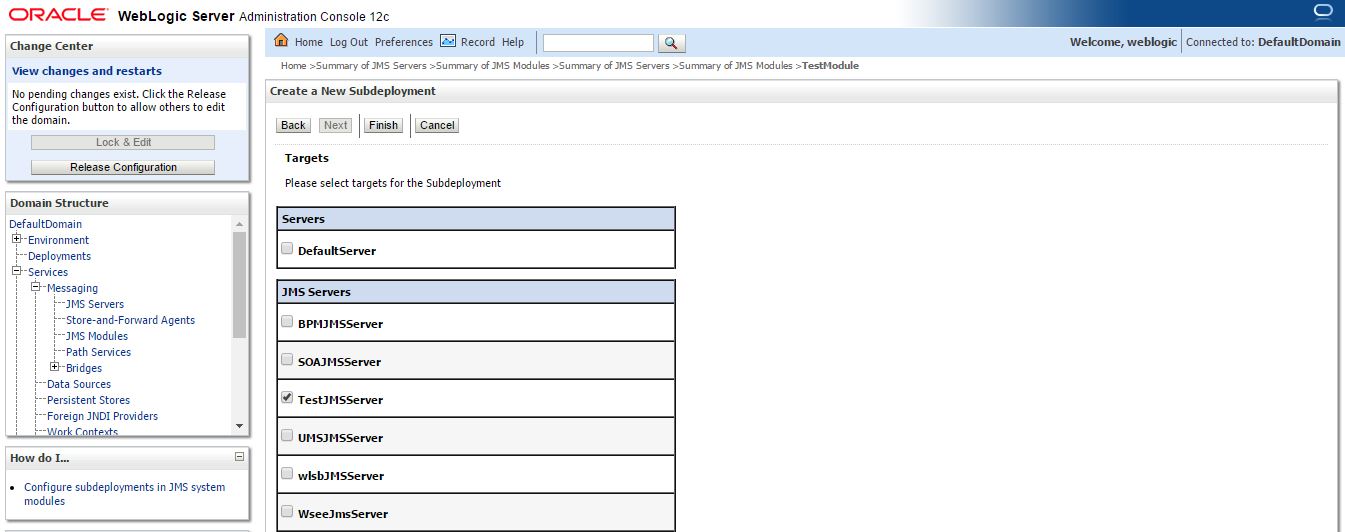
5) Click on Activate Changes button. Subdeployment has been created successfully:
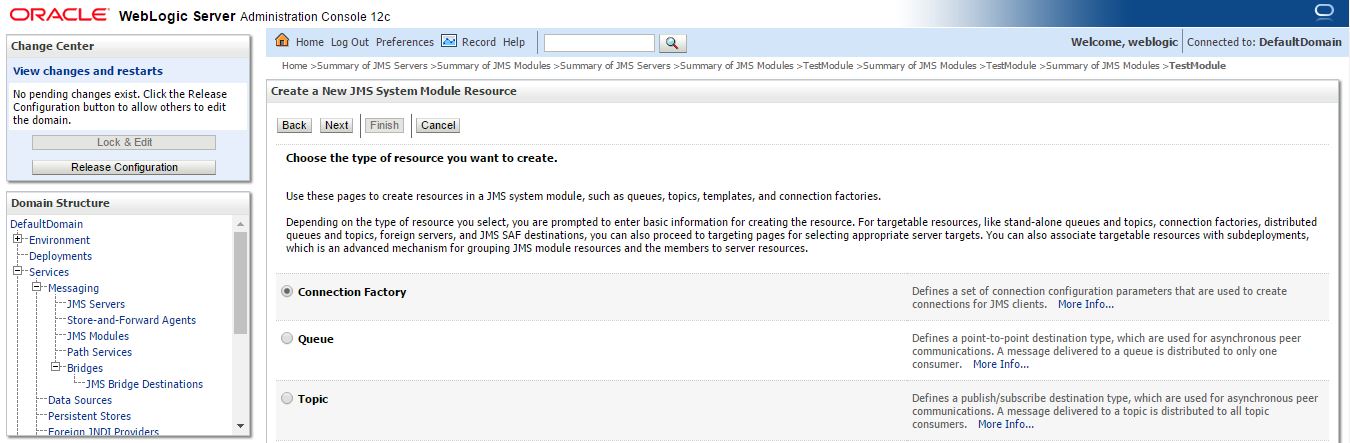
Create Connection Factory
1) Click on the TestModule created in above step
2) Click on New, select Connection Factory radio button and click Next
3) Enter Name, JNDI Name and click Next
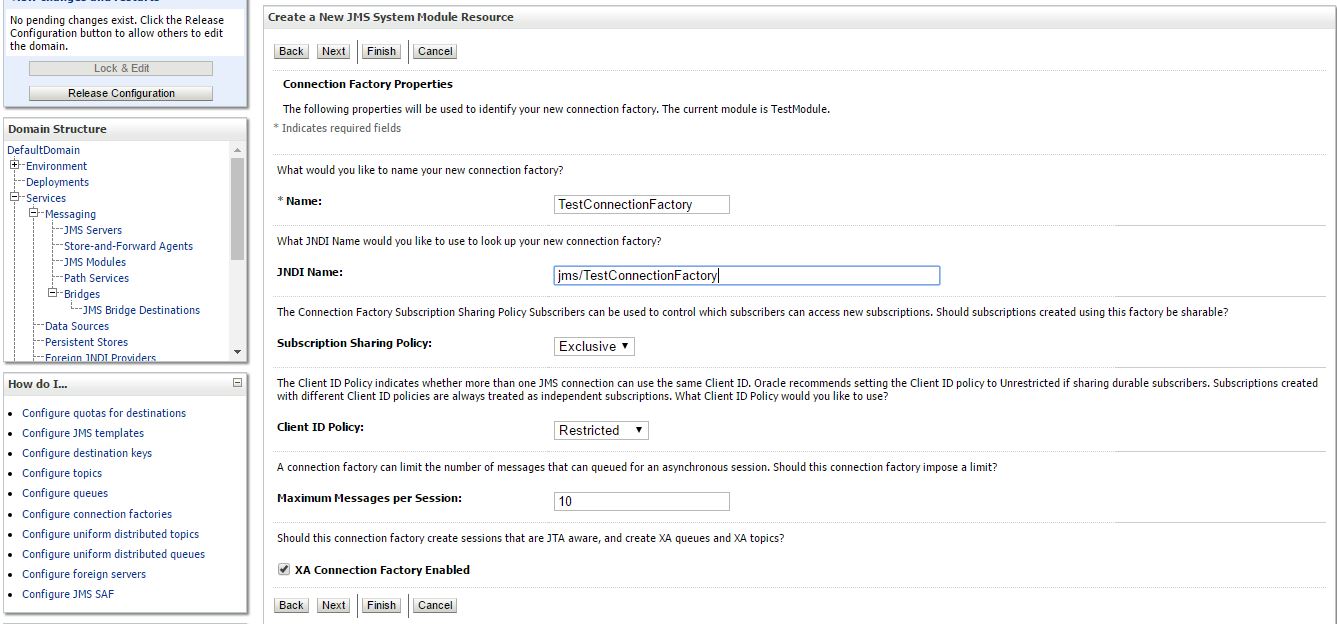
4) Click on Advance Targeting button
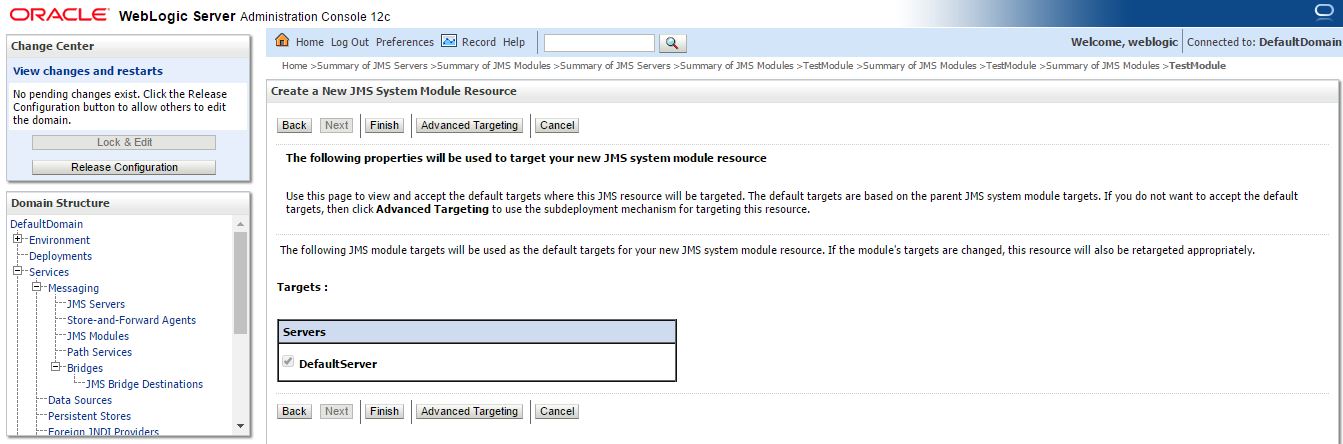
5) Select TestSubDeployment and click on Finish
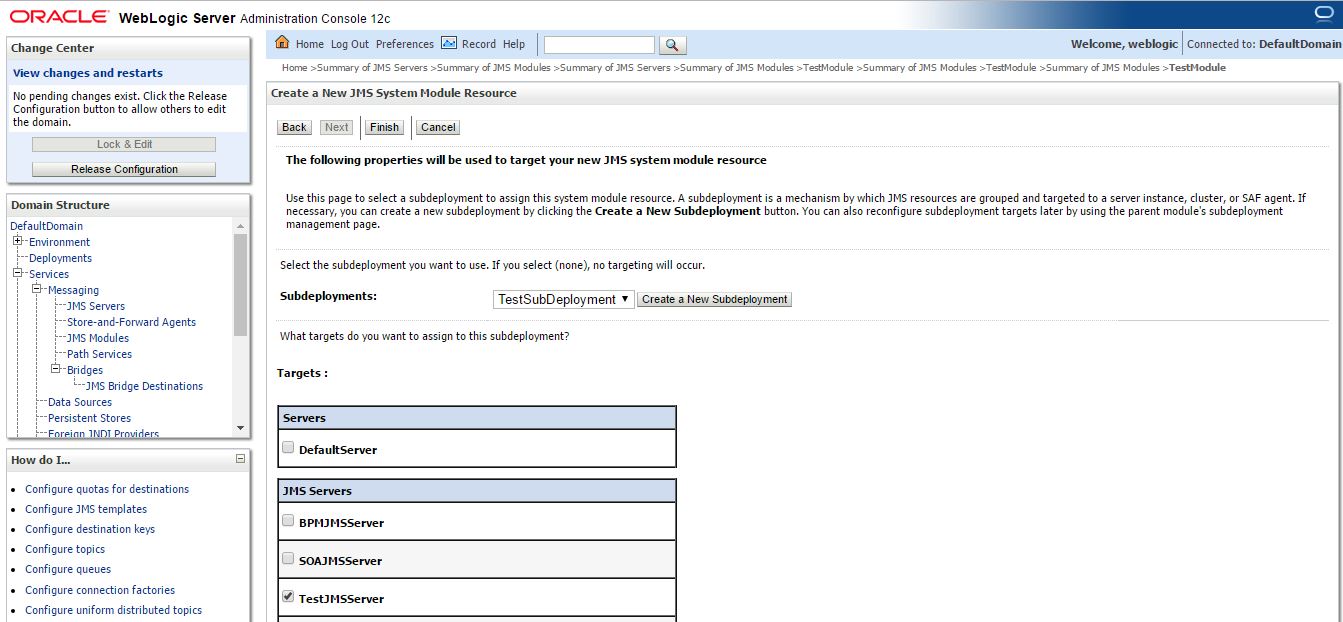
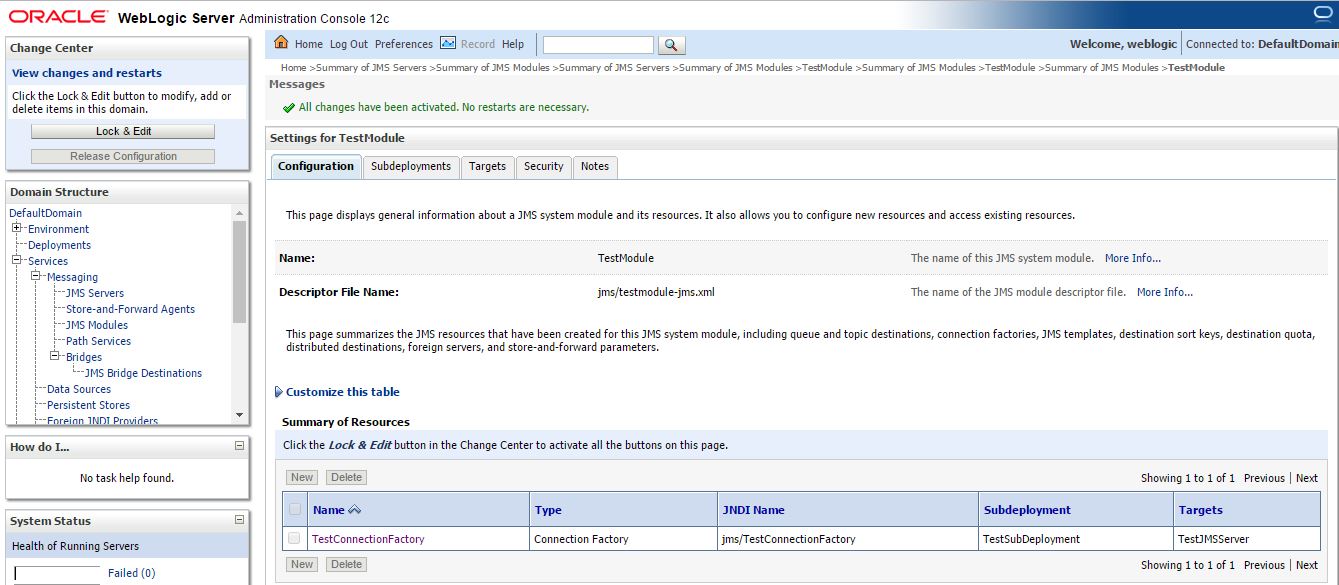
6) Click on Activate Changes button. Connection Factory has been created successfully.
Create Queue
1) Click on the TestModule created in above step
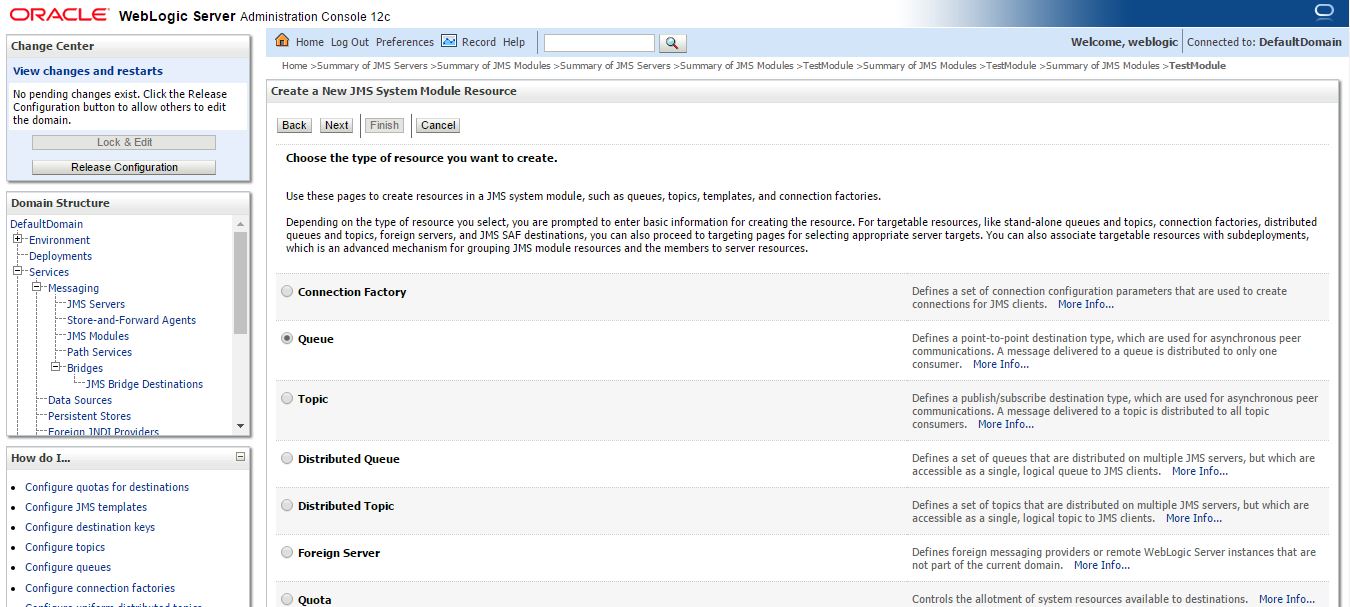
2) Click on New, select Queue radio button and click Next
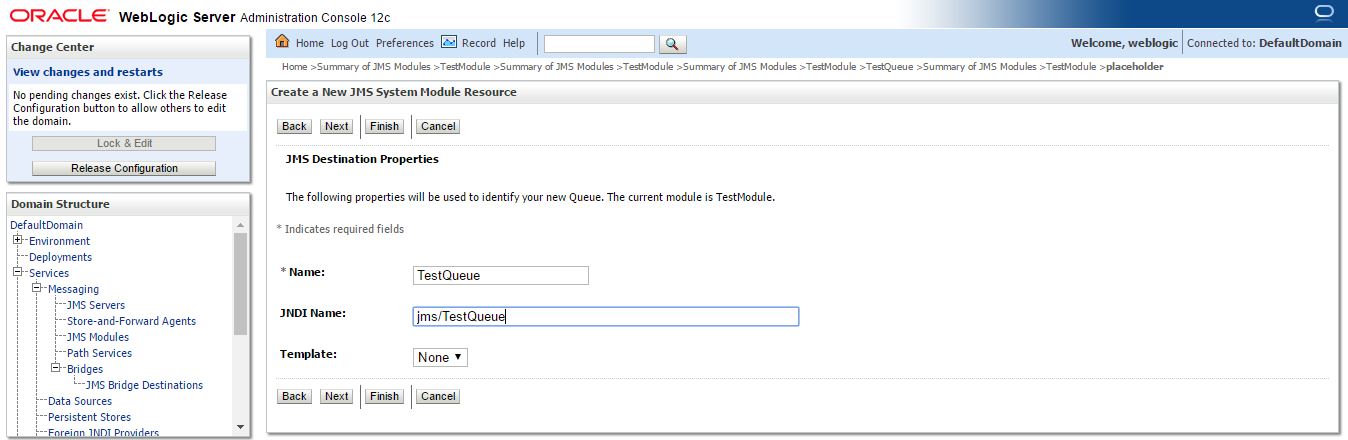
3) Enter Name, JNDI Name and click Next button
4) Select TestSubDeployment and Click Finish button

5) Click Activate Changes button. Queue has been created successfully.
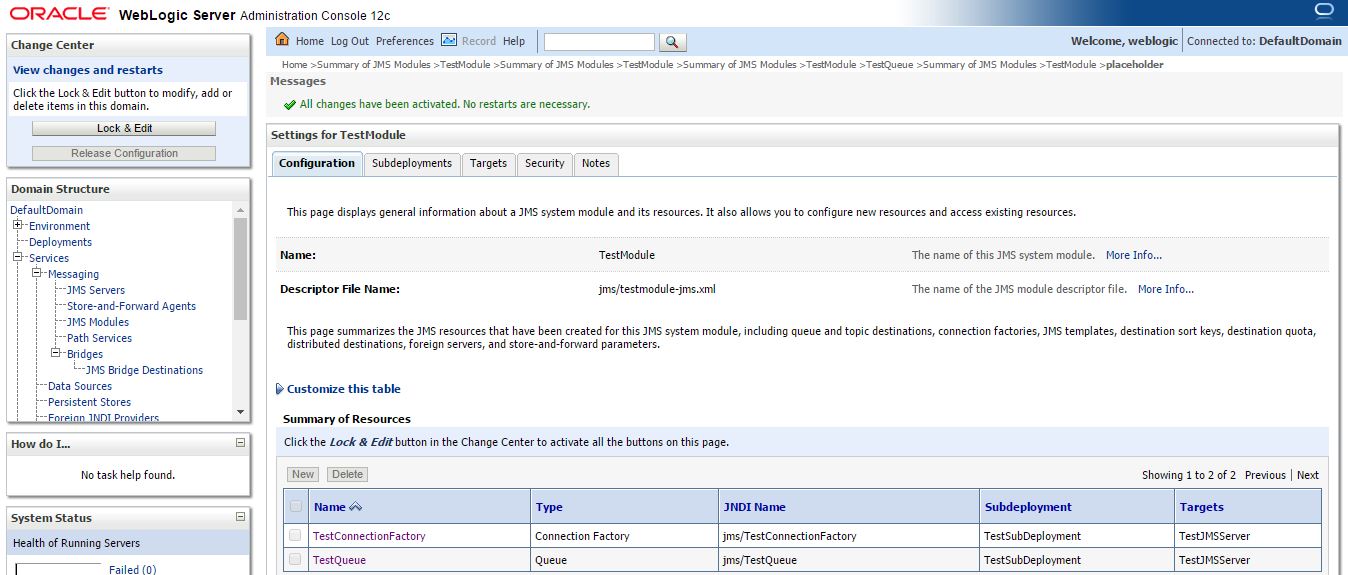
The JMS queue is now complete and can be accessed using the JNDI names
jms/TestConnectionFactory and
jms/TestQueue
Its great post to perform JMS Server Configuration Steps with useful screenshots your post made it easy. It inspire me to do more in my WebLogic course thank you.
Thanks a lot for posting this post, Your post has always been an informative source for me.
Raw Edge Belt Manufacturers
Provided nice information….keep share more blogs like this,Thanks for sharing a nice article.
learn Devops online training
Thanks for sharingcustom erp solutions